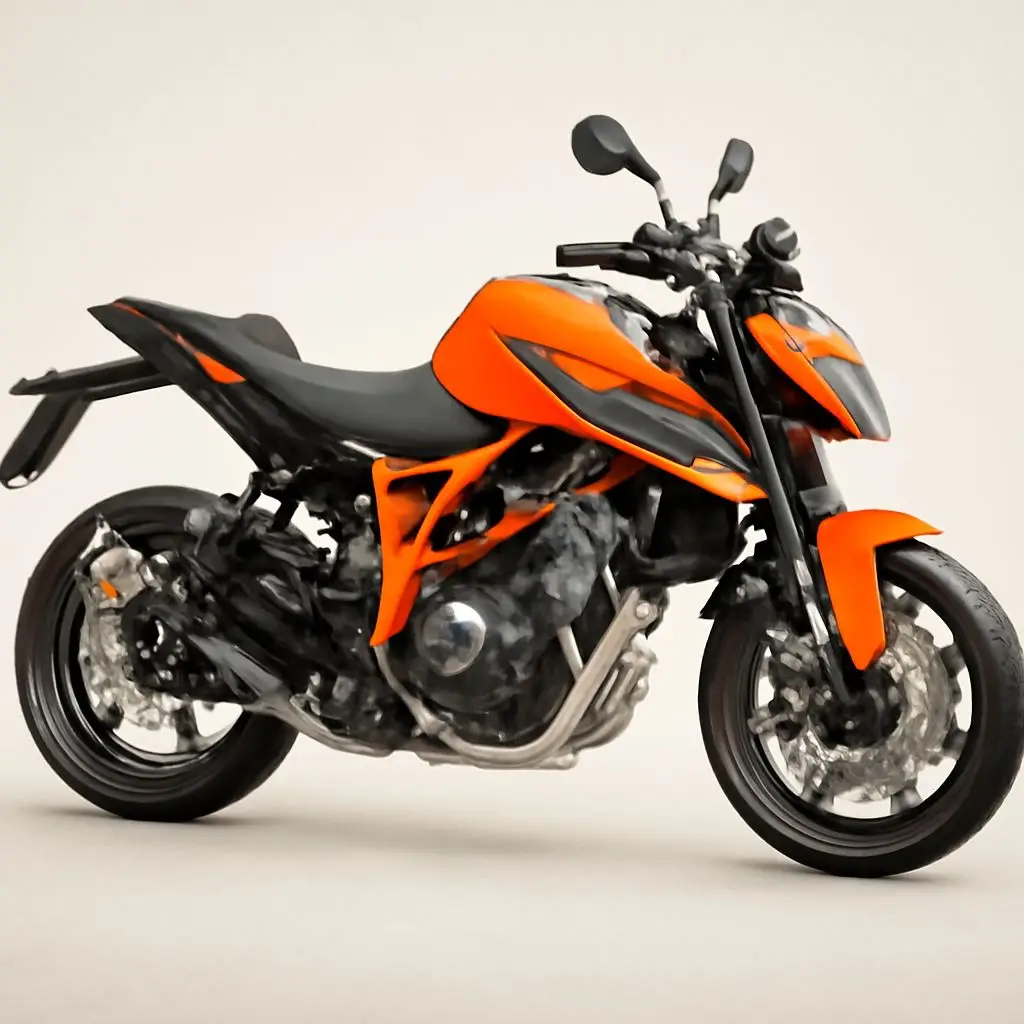
- “Fitting or rebuilding the cylinder head on a high-revving, liquid-cooled KTM engine requires precision, cleanliness, and strict attention to the manufacturer’s specifications. A small mistake in cam timing, bolt tightening, gasket installation, or valve clearance can cause serious engine problems.”
In this guide, I will explain a professional KTM motorcycle cylinder head fitting procedure, including surface preparation, head-gasket installation, cylinder-head tightening, TDC positioning, camshaft timing, valve-clearance checking, tensioner installation, and final inspection.
Important: KTM has several engine generations and models, including 125cc, 200cc, 250cc and 390cc variants. Torque values, timing marks, valve clearances, tightening sequences, and procedures can differ between models and model years. Always verify the exact specifications in the workshop manual for your motorcycle before assembly.
Required Tools, Equipment, and Supplies
Before starting the cylinder-head installation, prepare all required tools and replacement parts.
- Precision torque wrench
- 1/4-inch and 3/8-inch drive sockets
- Metric socket set
- Allen keys
- T25 and T30 Torx tools where applicable
- Feeler gauge set
- Digital vernier caliper
- Micrometer for measuring valve shims
- Engine assembly lubricant
- Clean recommended motorcycle engine oil
- Genuine or manufacturer-approved cylinder-head gasket
- New required sealing gaskets and O-rings
- Plastic or suitable gasket scraper
- Brake cleaner or approved cleaning solvent
- Lint-free workshop towels
- Compressed air
- Nitrile gloves
- Suitable flywheel/TDC locking tool where specified
- Workshop manual for the exact KTM model
Good preparation is important because cylinder-head assembly should not be interrupted repeatedly to search for tools or replacement parts.
Step 1: Surface Preparation and Cleaning
The cylinder-head gasket can only create a reliable seal when the mating surfaces are clean, flat, and free from damage.
Clean the Cylinder Surface
Carefully clean the top mating surface of the cylinder barrel.
Remove:
- Old gasket material
- Carbon deposits
- Oil residue
- Coolant residue
- Dirt and dust
Use an appropriate plastic or non-damaging scraper. Avoid aggressively scraping aluminum surfaces with hard steel tools because scratches or gouges can create sealing problems.
Clean the Cylinder-Head Deck
Clean the underside of the cylinder head thoroughly.
Inspect the surface for:
- Scratches
- Corrosion
- Burn marks
- Warping
- Previous gasket failure
- Coolant or oil contamination
If the surface appears warped or damaged, it should be checked using appropriate measuring equipment. Do not assume a damaged cylinder head will seal simply because a new gasket is installed.
Clean the Bolt Holes
The cylinder-head bolt or stud holes should be clean and free from oil, coolant, dirt, and debris.
Contamination inside threaded holes can affect torque readings and may prevent correct clamping force.
Use compressed air carefully and follow the manufacturer’s procedure for cleaning threaded holes.
Check the Dowel Pins
Install the original alignment dowel pins in their correct positions.
These dowels help locate the cylinder head and gasket accurately.
Never omit a required dowel pin.
Step 2: Installing the New Cylinder-Head Gasket
Always use a new cylinder-head gasket of the correct specification.
A head gasket should not normally be reused after removal because its sealing characteristics may be compromised.
Gasket Installation Procedure
- Confirm that the cylinder and cylinder-head surfaces are clean and dry.
- Place the new gasket over the alignment dowel pins.
- Check the gasket orientation carefully.
- Confirm that all oil passages, coolant passages, and cylinder openings line up correctly.
- Make sure the gasket is sitting completely flat.
Do not apply RTV silicone, grease, or liquid gasket to an MLS gasket unless the KTM workshop manual specifically requires it.
Using an incorrect sealant can interfere with the gasket’s designed sealing characteristics.
Step 3: Mounting the Cylinder Head
Carefully lower the cylinder head onto the cylinder barrel.
Do not force the head into position.
Make sure:
- The dowel pins are correctly located.
- The gasket remains properly positioned.
- The timing chain is accessible through the timing-chain passage.
- No wires, hoses, or other components are trapped underneath the cylinder head.
Pull the timing chain upward and secure it temporarily with suitable mechanic’s wire or a clean retaining method so that it does not fall into the crankcase.
Step 4: Cylinder-Head Bolt Installation and Tightening
Correct tightening is one of the most important parts of cylinder-head assembly.
The bolts, nuts, washers, and threads should be clean and inspected before installation.
Do not automatically lubricate fasteners unless the KTM workshop manual specifies the required lubrication procedure. Torque specifications are based on a particular fastener condition, and changing the lubrication condition can change the actual clamping force.
Use a Cross or Manufacturer-Specified Sequence
Cylinder-head fasteners should generally be tightened progressively and in the sequence specified by KTM.
A typical workshop process may involve several stages rather than applying the final torque immediately.
Important Torque Warning
Do not use a generic torque value for every KTM engine.
For example, a KTM 125, 200, 250, and 390 engine can have different:
- Cylinder-head fasteners
- Torque values
- Tightening sequences
- Fastener designs
- Torque-angle requirements
- Model-year specifications
Therefore, the exact final torque must be taken from the workshop manual for the specific engine being repaired.
Never guess cylinder-head torque specifications.
Incorrect torque can cause gasket failure, stripped threads, distorted components, coolant leakage, or serious engine damage.
Step 5: Setting the Engine to Top Dead Center (TDC)
Before installing and timing the camshafts, position the crankshaft correctly at Top Dead Center (TDC) according to the KTM service procedure.
TDC provides the correct crankshaft reference point for camshaft timing.
Basic Procedure
- Rotate the crankshaft using the correct tool.
- Locate the manufacturer’s TDC timing reference.
- Align the crankshaft timing mark according to the workshop manual.
- Use the approved crankshaft locking procedure if required.
- Confirm that the piston position corresponds to the required timing position.
Do not rely only on approximate visual positioning.
Important Safety Warning
If a crankshaft locking pin is installed, never force the engine to rotate against the locking pin.
Before manually rotating the crankshaft, remove the locking tool unless the service procedure specifically states otherwise.
Forcing the crankshaft against a locking tool can damage the crankshaft, crankcase, flywheel, or locking tool.
Step 6: Installing the Camshafts and Setting DOHC Timing
Many KTM engines use DOHC architecture with separate intake and exhaust camshafts.
Correct camshaft timing is critical.
Even a small timing error can cause poor engine performance, hard starting, misfiring, overheating, or piston-to-valve contact depending on the engine design.
Lubricate the Camshaft Components
Apply the manufacturer’s recommended assembly lubricant or clean engine oil to the camshaft journals and other specified lubrication points.
Do not run a freshly assembled cylinder head with dry camshaft journals.
Install the Exhaust Camshaft
Position the exhaust camshaft according to the correct timing marks.
Place the timing chain over the sprocket while maintaining the correct chain position.
Install the Intake Camshaft
Install the intake camshaft in its correct position.
Ensure the timing chain is correctly seated on both sprockets.
The timing marks must match the manufacturer’s specified reference position.
Check Timing-Chain Slack
Keep the appropriate side of the timing chain taut while positioning the camshafts.
Incorrect chain slack during timing setup can cause the timing marks to appear correct initially but become incorrect when the tensioner is installed.
Step 7: Installing Camshaft Bridge Caps
Once the camshafts are correctly positioned, install the camshaft retaining caps or bridge components.
Make sure:
- Each cap is installed in its original position.
- The correct orientation is maintained.
- Dowel pins are properly seated.
- Lubrication passages are not blocked.
- The camshafts remain correctly positioned.
Tighten the camshaft bridge fasteners gradually and in the manufacturer-specified sequence.
Because the cylinder head is aluminum, overtightening small camshaft fasteners can damage the threads or distort the camshaft bearing area.
Use only the exact torque specification given in the KTM workshop manual for your particular engine.
Do not apply thread locker unless the service manual specifically requires it.
Step 8: Installing the Cam Chain Tensioner
The cam-chain tensioner controls timing-chain slack.
Before installation:
- Inspect the tensioner.
- Confirm that its locking/reset mechanism works correctly.
- Install the required new gasket or sealing component.
- Position the tensioner correctly.
- Tighten the mounting fasteners to the manufacturer’s specified torque.
- Release or activate the tensioner according to the service procedure.
Do not manually force the tensioner beyond its designed operating range.
An incorrectly installed or improperly reset tensioner can cause timing-chain noise, timing errors, or chain jumping.
Step 9: Rechecking Camshaft Timing
This is one of the most important inspection stages.
After installing the camshafts and tensioner, carefully rotate the engine by hand according to the manufacturer’s procedure.
Generally, the engine should be rotated through complete crankshaft revolutions and returned to the correct timing position.
Then check:
- Crankshaft timing reference
- Intake camshaft timing mark
- Exhaust camshaft timing mark
- Timing-chain position
- Tensioner operation
The timing marks should return to the correct reference positions.
If the marks do not align, do not start the engine.
Remove the required components and correct the timing before proceeding.
Step 10: Checking Valve Clearance
Valve clearance must be checked with the engine in the correct position and under the conditions specified by KTM.
Use a clean feeler gauge to measure the clearance between the specified components.
Valve clearance specifications vary between KTM models and engine generations.
Therefore, do not use a generic clearance range as the final specification.
Always compare your measurement with the exact factory specification for your motorcycle.
If Valve Clearance Is Incorrect
If the clearance is outside specification:
- Record the measured clearance.
- Determine the required adjustment.
- Remove the required camshaft components following the service manual.
- Measure the existing shim.
- Calculate the required shim thickness.
- Install the correct shim.
- Reassemble the camshaft components.
- Recheck valve clearance.
A digital micrometer can be used to measure shim thickness accurately.
Step 11: Valve Cover Installation
Once valve clearance and camshaft timing have been confirmed, install the valve cover.
Inspect the valve-cover gasket carefully.
If the manufacturer specifies a new gasket, install a new one.
Place the gasket correctly into its groove and make sure it is not twisted or pinched.
If the service manual specifies sealant at particular joints or corners, apply only the recommended amount and type.
Do not apply excessive RTV sealant.
Tighten the valve-cover fasteners evenly using the manufacturer’s specified torque.
Step 12: Reconnecting Engine Components
Reconnect all components removed during the cylinder-head repair.
Depending on the KTM model, this may include:
- Spark-plug cap
- Ignition components
- Coolant hoses
- Intake manifold
- Throttle-body connections
- Fuel injector connector
- Electrical connectors
- Exhaust header
- Sensors
- Breather hoses
- Airbox components
Check every connector and hose before starting the engine.
A loose vacuum hose, electrical connector, coolant hose, or fuel connection can cause serious running problems or leaks.
Step 13: Cooling-System Refill and Bleeding
If the cooling system was drained during the repair, refill it with the coolant recommended for the motorcycle.
Do not mix incompatible coolant types.
Fill the cooling system according to the manufacturer’s procedure.
Air trapped inside the cooling system can cause:
- Engine overheating
- Poor coolant circulation
- Temperature fluctuations
- Coolant overflow
Use the KTM-specific bleeding procedure for the motorcycle being serviced.
Check carefully for coolant leaks around:
- Cylinder head
- Coolant hoses
- Water pump
- Radiator
- Thermostat area
- Gaskets and sealing points
Step 14: Engine Oil Check
After a cylinder-head repair, inspect the engine oil condition carefully.
If coolant contamination is suspected, the oil should be replaced according to the manufacturer’s service procedure.
Use the correct oil grade and specification recommended for the specific KTM engine.
Do not select engine oil solely because a particular viscosity is commonly used on KTM motorcycles.
Always follow the owner’s manual or workshop manual for the exact motorcycle.
Final Pre-Start Inspection
Before starting the engine, perform a complete inspection.
Mechanical Inspection
- Check cylinder-head fasteners.
- Check camshaft timing.
- Check timing-chain tensioner.
- Check valve clearance.
- Check valve-cover installation.
- Check spark-plug installation.
- Check exhaust installation.
- Check intake connections.
Fluid Inspection
- Check engine oil level.
- Check coolant level.
- Check for coolant leakage.
- Check for oil leakage.
Electrical Inspection
- Check injector connector.
- Check ignition connectors.
- Check sensors.
- Check battery connection.
- Check ground connections.
Only start the engine after all inspection points have been completed.
Workshop Safety Precautions
⚠️ Critical Mechanic Safety Notes
1. Wear Eye Protection
Always wear suitable safety goggles when using compressed air, cleaning chemicals, or performing engine repairs.
2. Use a Calibrated Torque Wrench
Cylinder-head fasteners should never be tightened by guesswork.
A calibrated torque wrench helps achieve the required clamping force.
3. Never Force the Engine Against a Locking Pin
If the crankshaft locking pin is installed, do not force the crankshaft.
Remove the locking device before rotating the engine unless the official service procedure specifically requires otherwise.
4. Keep the Engine Internally Clean
Even small amounts of dirt can damage precision engine components.
Keep open engine passages covered when possible.
5. Handle Coolant and Oil Responsibly
Used engine oil and coolant should be collected and disposed of through an appropriate recycling or waste-management facility.
Common Mistakes During KTM Cylinder-Head Installation
Several mistakes can lead to engine problems after cylinder-head installation.
Mistake 1: Reusing the Head Gasket
A removed head gasket should generally not be reused.
Use the correct new gasket recommended for the engine.
Mistake 2: Guessing Torque Values
Different KTM engines can have different torque specifications.
Always use the exact workshop-manual specification.
Mistake 3: Incorrect Camshaft Timing
One incorrect timing position can cause major engine problems.
Always check the crankshaft and both camshaft timing references.
Mistake 4: Forgetting to Check Valve Clearance
Installing the camshafts without checking valve clearance can result in poor engine operation or valve-train problems.
Mistake 5: Rotating the Engine With the Locking Tool Installed
Never force the crankshaft against a locking pin.
Mistake 6: Using Too Much Sealant
Excess RTV can squeeze into oil passages or coolant passages.
Use sealant only where the manufacturer specifies it.
Mistake 7: Starting the Engine Without Checking Fluids
Always check engine oil and coolant before starting the engine after major top-end work.
Frequently Asked Questions (FAQs)
Q1. Can I reuse the KTM cylinder-head gasket?
It is generally recommended to install a new cylinder-head gasket after removal. Follow the specific KTM workshop manual for your engine.
Q2. What happens if KTM cam timing is off by one tooth?
Incorrect cam timing can cause hard starting, poor performance, misfiring, abnormal engine operation, overheating, and on interference engines potentially piston-to-valve contact.
Never start the engine until the timing marks have been verified.
Q3. Why is TDC important during camshaft installation?
TDC provides a controlled crankshaft reference position from which the camshaft timing can be correctly established.
Q4. Can I use the same torque specification for KTM 125, 200, 250, and 390 engines?
No. Torque specifications can vary according to engine design, fastener type, model year, and component.
Always use the specification for the exact engine being repaired.
Q5. Why is valve clearance important?
Correct valve clearance allows the valves to open and close correctly while maintaining the required sealing and thermal operating clearance.
Incorrect clearance can affect starting, performance, noise, compression, and valve-train durability.
Q6. What should I do if the timing marks do not align after rotating the engine?
Do not start the engine.
Stop the assembly process and recheck the crankshaft position, camshaft position, timing-chain installation, and tensioner setup using the correct workshop manual.
Conclusion
Fitting a cylinder head on a high-performance KTM motorcycle engine requires patience, cleanliness, accurate measurement, and strict attention to manufacturer specifications.
The most important parts of the procedure are:
- Proper cleaning of mating surfaces
- Correct installation of a new gasket
- Correct cylinder-head tightening sequence
- Accurate TDC positioning
- Correct intake and exhaust camshaft timing
- Proper timing-chain tensioner installation
- Accurate valve-clearance measurement
- Correct coolant and engine-oil procedures
- Complete final inspection before starting the engine
A professional engine rebuild is not about tightening bolts as quickly as possible. It is about following the correct sequence, measuring accurately, and verifying every critical component before the engine is started.
At Rajesh Technical Giyan, I believe that proper diagnosis, accurate measurements, and disciplined mechanical practices are the foundation of reliable motorcycle engineering.
If you are working on a KTM Duke, RC, or Adventure motorcycle and have questions about cylinder-head fitting, camshaft timing, valve clearance, or engine assembly, always identify the exact model, engine capacity, and model year before selecting specifications.
Stay safe, maintain your motorcycle with care, and keep learning mechanical skills.
Rajesh Technical Giya