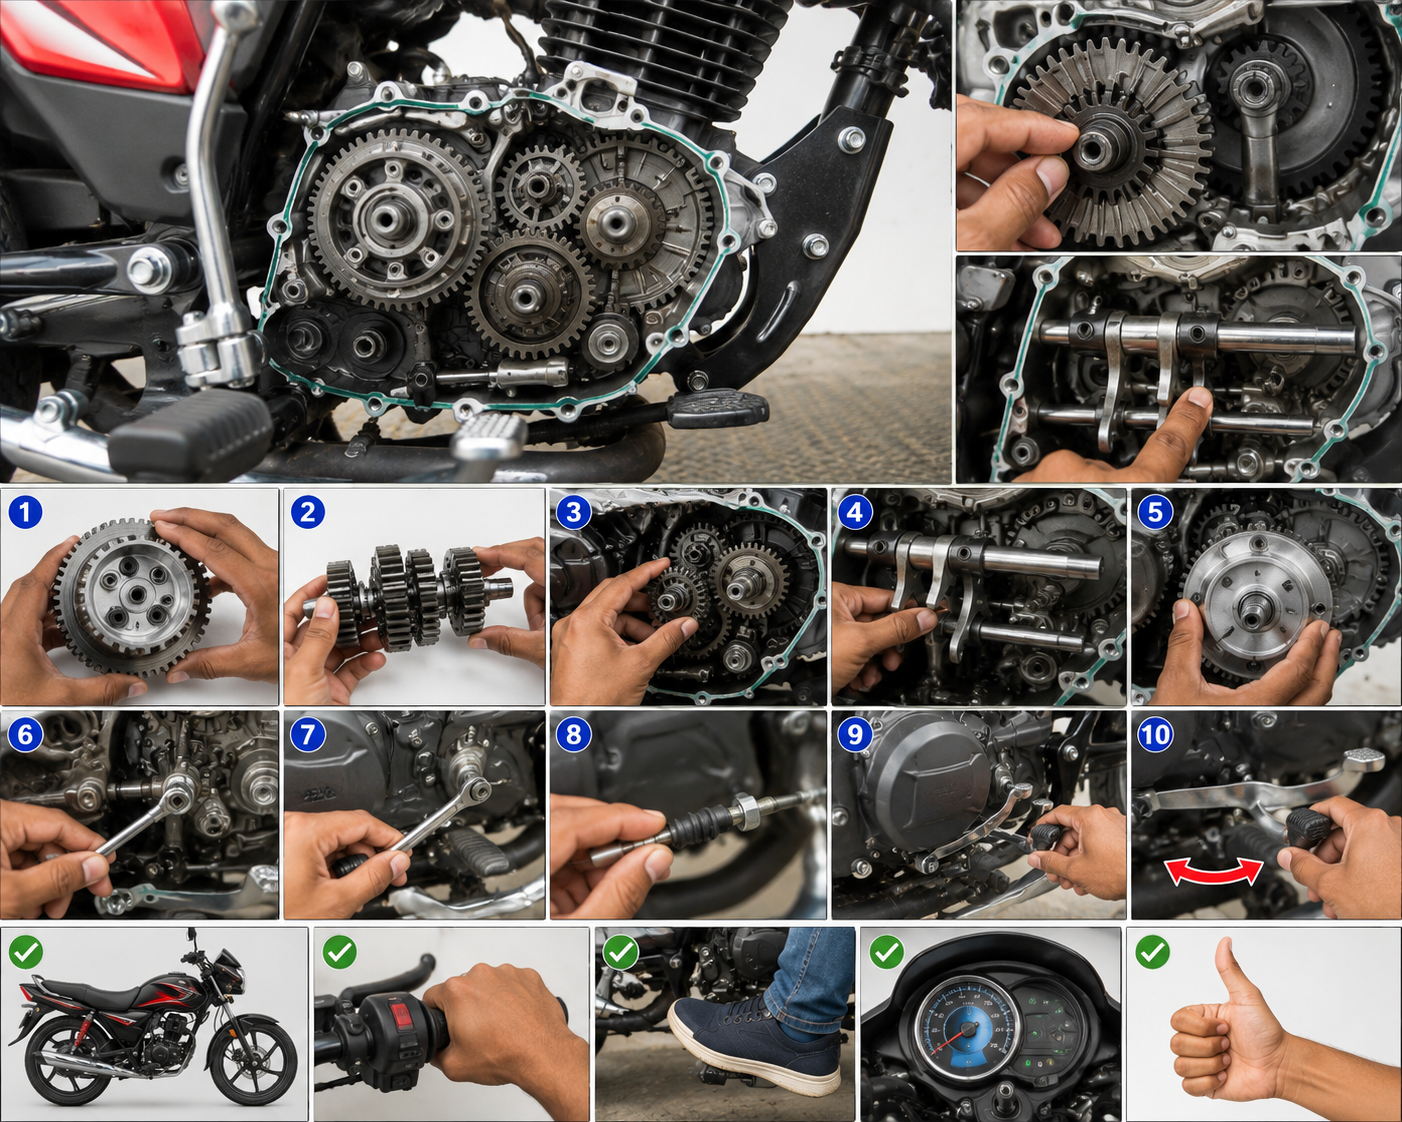
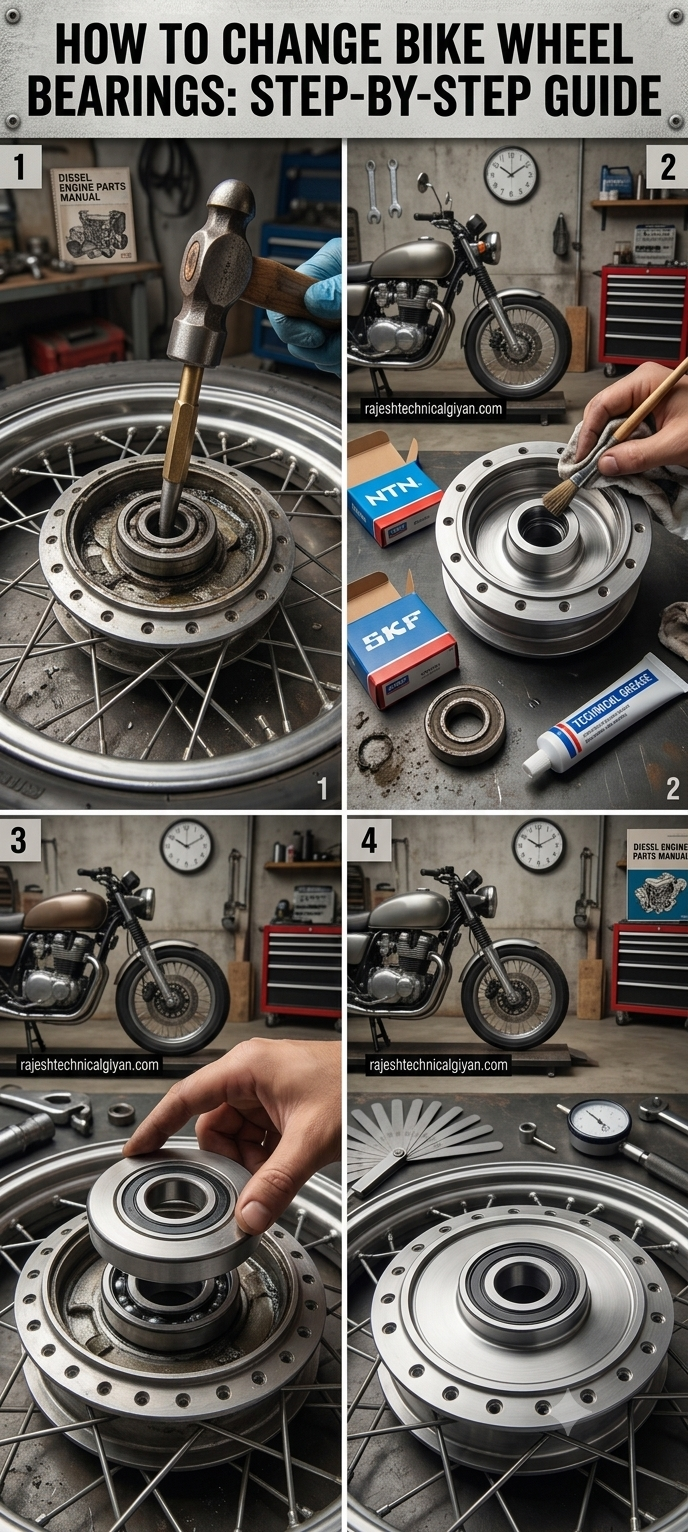
Today, I will explain the step-by-step method for changing wheel bearings on a motorcycle or bike. Wheel bearings are small components, but they play a very important role in the safe and smooth operation of a motorcycle. They allow the wheels to rotate freely while supporting the load of the motorcycle, rider, passenger, and road forces.
A worn or damaged wheel bearing can cause wheel play, unusual noise, rough rotation, vibration, and poor handling. If the problem becomes severe and the bearing is ignored for a long time, it can affect other wheel components as well.
The good news is that wheel-bearing replacement is a repair that an experienced mechanic can perform with the correct tools and proper procedure.
However, the exact bearing size, number of bearings, spacer arrangement, torque specifications, and wheel-removal procedure can differ between motorcycles. Therefore, always check the service information for the exact bike before beginning the repair.
In this guide, I will explain the complete general procedure, from identifying a damaged bearing to removing the wheel, replacing the bearing, checking the spacers and seals, reinstalling the wheel, and performing the final safety inspection.
What Does a Wheel Bearing Do?
A motorcycle wheel bearing allows the wheel hub to rotate smoothly around the axle.
The bearing contains precision-machined races and rolling elements that reduce friction between the rotating wheel and the stationary axle or mounting components.
A properly functioning bearing helps the wheel rotate smoothly and contributes to stable handling.
Wheel bearings are designed to withstand:
- Motorcycle weight
- Rider weight
- Braking forces
- Acceleration forces
- Cornering forces
- Road impacts
- Continuous wheel rotation
Because they operate under demanding conditions, wheel bearings eventually wear out.
Signs of a Bad Wheel Bearing
Before replacing a wheel bearing, it is important to identify the symptoms correctly.
Common signs include:
Rough Wheel Rotation
When the wheel is rotated by hand, a damaged bearing may feel rough rather than smooth.
Grinding or Humming Noise
A worn bearing can produce a humming, grinding, or rumbling sound.
Excessive Wheel Play
A damaged bearing may allow abnormal movement between the wheel and axle.
Vibration
Bearing wear can sometimes contribute to unusual vibration while riding.
Uneven Wheel Movement
The wheel may not rotate smoothly if the bearing is severely damaged.
However, these symptoms can also be caused by loose axle hardware, worn brake components, damaged tires, bent wheels, or other problems. A proper inspection is therefore important.
Tools Required
The exact tools depend on the motorcycle, but a typical wheel-bearing replacement may require:
- Motorcycle stand or suitable lifting equipment
- Socket set
- Spanner set
- Torque wrench
- Screwdrivers
- Allen keys
- Circlip pliers if applicable
- Bearing puller
- Bearing driver or suitable press tools
- Soft-faced hammer
- Suitable drift or installation tool
- Cleaning materials
- Correct replacement bearings
- New wheel seals where required
Using the correct bearing-removal and installation tools makes the job safer and reduces the risk of damaging the wheel hub.
Step 1: Identify the Correct Bearing
Before removing the wheel, identify the exact motorcycle model.
Check:
- Motorcycle make
- Model
- Year
- Wheel type
- Front or rear wheel
- Original bearing number
- Bearing dimensions
Do not purchase a bearing simply because it looks similar to the old one.
The inner diameter, outer diameter, width, bearing type, and sealing arrangement must be correct.
If possible, confirm the part number using the manufacturer’s parts information.
Step 2: Secure the Motorcycle
Before removing a wheel, the motorcycle must be properly supported.
Use a suitable motorcycle stand or approved lifting equipment.
The motorcycle should be stable and should not be able to fall while the wheel is removed.
This is especially important when removing the front or rear wheel because the motorcycle’s balance can change significantly.
Never rely on an unstable object such as a brick, loose piece of wood, or improvised support.
Step 3: Remove the Wheel
The wheel-removal procedure depends on the motorcycle.
For a front wheel, components may include:
- Axle
- Axle nut
- Brake caliper
- Wheel spacers
- Speed sensor or speedometer drive on some models
For a rear wheel, you may need to consider:
- Rear axle
- Brake caliper or bracket
- Chain or belt drive
- Wheel spacers
- Sprocket carrier
Before removing anything, note the position of the spacers and other components.
Taking a photograph before disassembly can be very useful during reassembly.
Step 4: Remove Brake Components Carefully
If the brake caliper needs to be removed, support it properly.
Do not allow a brake caliper to hang from its hydraulic hose.
If the caliper is removed, secure it safely using an appropriate support.
Avoid squeezing the brake lever while the wheel or brake disc is removed unless the service procedure specifically requires it.
Keep the brake disc and pads free from oil, grease, and contamination.
Step 5: Remove the Axle
Remove the axle according to the motorcycle manufacturer’s procedure.
Keep all hardware and spacers organized.
Some motorcycles use different spacers on different sides of the wheel.
Mixing them up during reassembly can cause alignment or brake problems.
Once the axle is removed, carefully remove the wheel from the motorcycle.
Place the wheel on a clean work surface.
Step 6: Remove the Wheel Seals
Wheel bearings are commonly protected by seals.
Before removing the bearing, inspect the seals.
If the seals are damaged, hardened, cracked, or leaking, they should generally be replaced.
Remove the seal carefully without damaging the wheel hub or bearing seat.
Do not use excessive force against the machined surfaces of the wheel.
Step 7: Inspect the Wheel Spacer
Inside many motorcycle wheel hubs there is an internal spacer between the bearings.
This spacer is extremely important.
Before removing the bearings, note its position.
After the bearings are removed, inspect the spacer for:
- Damage
- Wear
- Deformation
- Corrosion
- Incorrect length
Never discard the internal spacer.
It must be installed correctly during reassembly.
Step 8: Remove the Old Bearing
The old bearing can be removed using an appropriate bearing puller, blind-bearing puller, press, or other suitable workshop method.
The removal technique depends on the wheel design.
Avoid hitting the bearing directly with an unsuitable tool.
If a drift is used, it must be positioned correctly so that the bearing can be removed without damaging the hub.
Work evenly around the bearing where appropriate.
The goal is to remove the bearing without damaging the wheel’s bearing seat.
Step 9: Clean the Bearing Housing
Once the old bearing has been removed, thoroughly clean the bearing housing.
Remove:
- Dirt
- Old grease
- Corrosion
- Metal particles
- Seal debris
Inspect the bearing seat carefully.
Look for:
- Cracks
- Scoring
- Excessive wear
- Corrosion
- Damage
- Signs that the old bearing had been spinning in the hub
If the bearing seat is damaged, simply installing a new bearing may not be a reliable repair.
Step 10: Inspect the Wheel Hub
Before installing the new bearing, inspect the entire wheel hub.
Check the bearing bores, internal spacer, axle area, brake disc mounting area, and other relevant components.
Also inspect the wheel itself for cracks, bends, or other damage.
If the wheel has suffered a major impact, it should be inspected carefully before being returned to service.
Step 11: Prepare the New Bearings
Compare the new bearings with the old ones.
Confirm:
- Correct bearing number
- Correct dimensions
- Correct sealing arrangement
- Correct quantity
Keep the new bearings clean.
Do not contaminate sealed bearings with dirt or unsuitable chemicals.
If the bearing manufacturer provides specific installation instructions, follow them.
Step 12: Install the New Bearing
Bearing installation requires care.
The new bearing should be pressed or driven into the hub using an appropriate bearing driver or press.
The installation force must be applied to the correct bearing race.
When installing a bearing onto a shaft, force is generally applied to the inner race.
When installing a bearing into a housing, force is generally applied to the outer race.
Never unnecessarily transfer installation force through the rolling elements.
Improper installation can damage a brand-new bearing before the motorcycle is even ridden.
Step 13: Install the Internal Spacer
After the first bearing is installed, make sure the internal wheel spacer is correctly positioned.
The spacer sits between the wheel bearings on many motorcycle designs.
Its purpose is to maintain the correct relationship between the bearings when the axle is tightened.
Do not omit this component.
Do not replace it with an improvised spacer.
The correct spacer length and design are important for proper wheel assembly.
Step 14: Install the Second Bearing
Install the second bearing carefully.
Again, use the appropriate bearing installation method.
Do not drive the bearing deeper than the manufacturer’s intended seating position.
The bearing must be properly seated while the internal spacer remains correctly positioned.
If the spacer becomes trapped incorrectly or is forced into the wrong position, the wheel may not rotate properly after the axle is tightened.
Step 15: Install New Wheel Seals
Install the correct wheel seals after the bearings are properly seated.
The sealing lip should face the correct direction according to the manufacturer’s design.
Apply a suitable lubricant to the seal lip if specified.
Press the seal into position evenly.
Do not hammer directly against the seal lip.
A damaged seal can allow water and dirt to enter the bearing area, shortening bearing life.
Step 16: Check the Wheel by Hand
Before reinstalling the wheel, rotate it by hand.
The wheel should rotate smoothly.
Listen for:
- Grinding
- Clicking
- Roughness
- Binding
Also check for abnormal play.
If the wheel does not rotate correctly, stop and inspect the bearing installation and spacer arrangement.
Do not proceed until the problem has been identified.
Step 17: Reinstall the Wheel
Place the wheel back into position.
Install the spacers exactly as they were designed.
Insert the axle carefully.
Do not force the axle through a misaligned assembly.
If the axle does not enter easily, check wheel alignment, spacer position, and fork or swingarm alignment.
Step 18: Reinstall Brake Components
Reinstall the brake caliper or other brake components according to the manufacturer’s procedure.
Make sure:
- Brake disc is correctly positioned
- Caliper is correctly mounted
- Fasteners are correctly installed
- Brake components are free from oil and grease
Use the manufacturer’s specified torque values for critical fasteners.
A torque wrench is strongly recommended for axle and brake-related fasteners.
Step 19: Tighten the Axle Correctly
The axle and related fasteners must be tightened according to the motorcycle manufacturer’s specified sequence and torque.
Do not guess the torque value.
Incorrect axle tightening can create serious handling or bearing problems.
After tightening, verify that the wheel rotates normally.
On some motorcycles, the correct procedure includes a specific sequence for axle and pinch-bolt tightening. Follow the exact procedure for the model being serviced.
Step 20: Check Brake Operation
Before riding the motorcycle, operate the brake lever or pedal several times as appropriate.
This is particularly important if a brake caliper was removed.
Confirm that normal brake pressure and lever feel have returned.
Never ride away without confirming that the brakes are functioning correctly.
Step 21: Check Wheel Play
With the motorcycle safely supported, check for abnormal wheel movement.
The wheel should not have excessive looseness.
If abnormal play remains after installing new bearings, investigate:
- Bearing seating
- Internal spacer
- Axle
- Wheel hub
- Axle hardware
- Other related components
Do not assume that a new bearing automatically means the wheel is safe.
Step 22: Perform a Final Inspection
Before the first test ride, inspect everything carefully.
Check:
- Axle
- Axle nut
- Pinch bolts where applicable
- Wheel spacers
- Brake caliper
- Brake disc
- Brake operation
- Wheel rotation
- Tire condition
- Wheel alignment
- Chain adjustment on rear-wheel-drive motorcycles
- Any removed electrical sensor or speed sensor
Make sure no tools or loose components remain around the motorcycle.
Step 23: Perform a Careful Test Ride
The first test ride should be short and controlled.
Do not immediately ride at high speed.
Start at low speed in a safe area and check:
- Steering feel
- Wheel rotation
- Brake operation
- Vibration
- Unusual noise
- Stability
If anything feels abnormal, stop and inspect the motorcycle again.
Common Mistakes When Changing Wheel Bearings
Using the Wrong Bearing
A bearing that appears similar may have different dimensions or specifications.
Always confirm the correct part.
Hammering Directly on the Bearing
Improper impact can damage the bearing races and rolling elements.
Installing the Bearing at the Wrong Depth
The bearing must be seated according to the correct hub design.
Forgetting the Internal Spacer
The internal spacer is an important part of many motorcycle wheel assemblies.
Installing the Spacers on the Wrong Sides
Incorrect spacer placement can affect wheel alignment and brake positioning.
Reusing Damaged Seals
Old or damaged seals can allow contamination into the new bearing.
Guessing Axle Torque
Use the manufacturer’s specified torque and tightening procedure.
Contaminating the Brake Disc
Oil or grease on the brake disc can seriously reduce braking performance.
Riding Without Checking the Brakes
Always restore and verify brake operation before riding.
How to Make Wheel Bearings Last Longer
Wheel-bearing life can be improved through proper maintenance and inspection.
Avoid pressure-washing directly at wheel seals.
Keep the axle and wheel components clean during service.
Inspect bearings when unusual noise or play appears.
Replace damaged seals promptly.
Avoid ignoring water or dirt contamination.
During tire replacement or wheel service, take the opportunity to inspect the bearings.
If a motorcycle frequently operates in rain, mud, water, or dusty conditions, more frequent inspection may be appropriate.
Front and Rear Wheel Bearing Differences
The basic replacement principle is similar, but front and rear wheels can have different arrangements.
The rear wheel may include additional components such as:
- Sprocket carrier
- Cush-drive components
- Multiple spacers
- Brake disc
- Chain-related components
The front wheel may include:
- Brake disc
- Speed sensor
- Different wheel spacers
- ABS components on equipped motorcycles
Therefore, never assume that every motorcycle wheel is assembled in exactly the same way.
ABS Motorcycle Considerations
Modern motorcycles may have ABS sensors and tone rings near the wheel.
Extra care is required when removing and reinstalling wheels.
Do not damage:
- ABS sensor
- Sensor wiring
- Tone ring
- Sensor mounting bracket
Keep the correct sensor gap according to the manufacturer’s specifications.
If an ABS warning light appears after wheel installation, the system should be diagnosed before normal riding.Read also 10-hp-diesel-engine-generator-set
Final Thoughts
Changing a motorcycle wheel bearing is an important maintenance and repair procedure, but it should never be treated as a simple parts-replacement job.
The bearing, wheel hub, internal spacer, axle, seals, brake components, and related parts all work together.
The most important steps are to identify the correct bearing, support the motorcycle safely, remove the wheel carefully, inspect the hub, install the bearing using the correct method, position the internal spacer correctly, replace damaged seals, and tighten the axle and related fasteners to the manufacturer’s specifications.
Always remember that motorcycle wheel and brake components are safety-critical. If you do not have the correct tools, lifting equipment, measurement equipment, or experience, it is safer to have the work performed by a qualified motorcycle technician.
After the repair, never skip the final inspection. Check wheel rotation, wheel play, brake operation, axle installation, and alignment before riding.
A correctly installed wheel bearing can help restore smooth wheel rotation and reliable motorcycle handling. Regular inspection can also help identify bearing wear before it becomes a more serious problem.
I hope this complete guide helps motorcycle owners, mechanics, workshop technicians, and DIY enthusiasts understand the correct general procedure for changing bike wheel bearings.
For more practical motorcycle repair guides, engine troubleshooting, maintenance tips, and professional workshop knowledge, keep visiting Rajesh Technical Gyan.