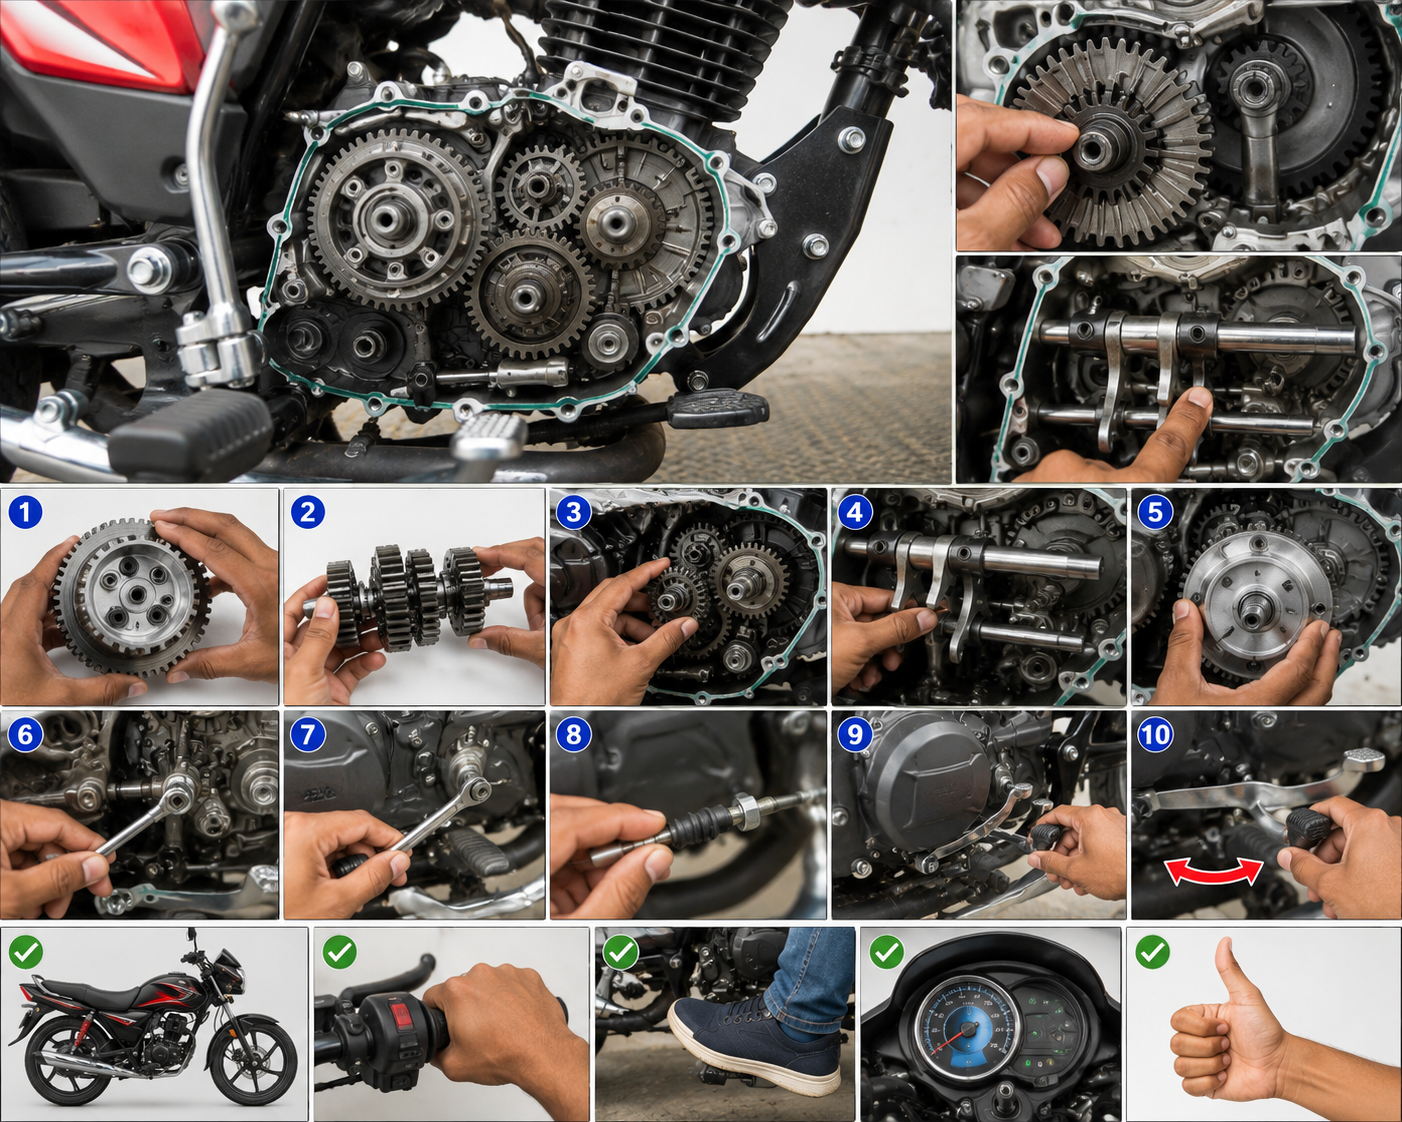
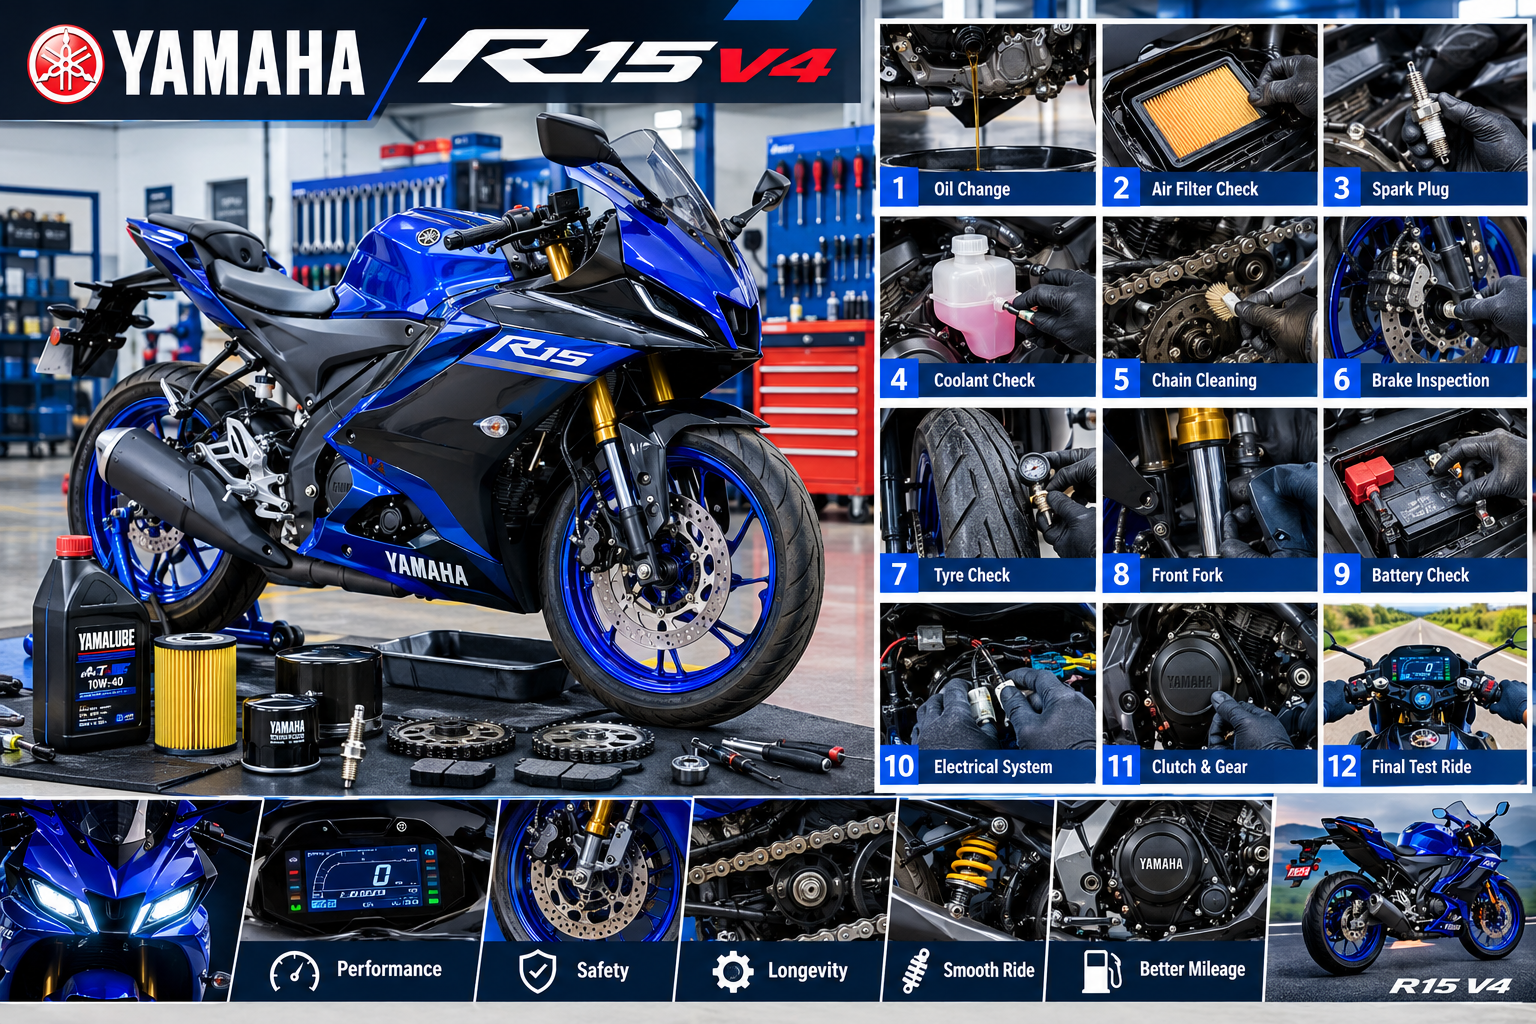
The Yamaha R15 V4 is a performance-oriented motorcycle that requires regular servicing to maintain smooth engine operation, reliable braking, proper handling, good fuel efficiency, and consistent performance. A proper service involves much more than changing engine oil. The engine, air intake, fuel system, chain drive, brakes, suspension, electrical system, tyres, and fasteners should all be inspected systematically.
This step-by-step guide explains a practical Yamaha R15 V4 servicing procedure and the important checks that should be performed during routine maintenance.
Important: Exact oil specifications, quantities, service intervals, torque values, valve clearances, and replacement procedures should always be confirmed from the service information for the specific R15 V4 model and year.
Tools and Materials Required
Before starting the service, prepare the necessary tools and consumables.
Common requirements include:
- Socket and spanner set
- Screwdrivers
- Torque wrench
- Oil drain pan
- Funnel
- Clean workshop cloth
- Chain cleaning brush
- Motorcycle chain cleaner
- Suitable chain lubricant
- Recommended engine oil
- New oil filter, if applicable to the service
- Replacement drain-plug washer, if specified
- Air filter replacement, if required
- Brake cleaner
- Tyre-pressure gauge
- Diagnostic equipment when required
For safety-critical work, use good-quality tools and the correct equipment rather than improvising.
Step 1: Wash and Inspect the Motorcycle
Start with a general inspection before removing components.
Clean the motorcycle carefully, particularly around:
- Engine area
- Chain and sprockets
- Wheels
- Brake components
- Radiator area
- Front and rear suspension
Avoid forcing high-pressure water directly into electrical connectors, bearings, switches, or other sensitive areas.
After cleaning, inspect the motorcycle for oil leaks, coolant leaks, damaged wiring, loose fasteners, cracked components, and other visible problems.
Step 2: Check the Engine Oil
Engine oil is one of the most important service items on the R15 V4.
Park the motorcycle securely on a level surface and follow the correct procedure for checking the oil level.
Look for:
- Correct oil level
- Unusual oil colour or contamination
- Metallic particles
- Oil leakage around the engine
- Leakage around the drain area
Do not judge oil condition only by its colour. Oil level and service history are also important.
Step 3: Replace the Engine Oil
If an oil change is due, warm the engine according to the manufacturer’s procedure so the oil can drain effectively.
Then:
- Switch off the engine.
- Position a suitable drain pan under the engine.
- Remove the appropriate drain plug.
- Allow the old oil to drain completely.
- Inspect the drain plug and sealing washer.
- Replace the washer if required.
- Reinstall the drain plug using the specified torque.
- Add the recommended engine oil.
- Start the engine briefly according to the service procedure.
- Switch it off and allow the oil to settle.
- Recheck the oil level.
- Correct the level if necessary.
Never overfill the engine.
The correct oil grade and specification should be taken from the owner’s manual or service documentation for the specific motorcycle.
Step 4: Inspect or Replace the Oil Filter
If the service schedule calls for oil-filter replacement, replace it using the correct procedure.
Before installation:
- Check the new filter is correct for the motorcycle.
- Inspect the sealing surface.
- Lubricate the filter seal where specified.
- Install the filter correctly.
- Tighten it to the manufacturer’s specification.
An incorrectly installed filter or damaged seal can cause an oil leak.
After starting the engine, inspect the filter area carefully for leakage.
Step 5: Inspect the Air Filter
The air filter controls the cleanliness of the air entering the engine.
Remove the air-filter element according to the manufacturer’s procedure and inspect it for:
- Dust
- Dirt
- Oil contamination
- Damage
- Deformation
- Improper sealing
A dirty or damaged filter can restrict airflow and affect engine performance.
If the filter is a replaceable type and is no longer serviceable, install the correct replacement element.
Do not install a damaged filter simply because it appears clean.
Step 6: Check the Spark Plug
The spark plug is another important engine-service item.
Remove the spark plug carefully using the correct tool.
Inspect the plug for:
- Electrode wear
- Carbon deposits
- Abnormal colour
- Oil contamination
- Cracks
- Damaged threads
Spark-plug condition can provide useful clues about combustion, but it should not be used alone to diagnose an engine problem.
Check the specified electrode gap and replacement interval for the particular R15 V4 version.
When installing the spark plug, avoid cross-threading and use the manufacturer’s specified tightening torque.
Step 7: Inspect the Cooling System
The R15 V4 uses a liquid-cooled engine, so the cooling system needs regular inspection.
Check:
- Coolant level
- Coolant leakage
- Radiator condition
- Coolant hoses
- Hose clamps
- Expansion reservoir
- Radiator fins
- Cooling fan operation
Remove dirt and debris from the radiator fins carefully without bending them.
Never open a hot cooling system because pressurized coolant can cause serious burns.
If coolant needs to be replaced, use the correct coolant and follow the manufacturer’s bleeding and filling procedure.
Step 8: Clean and Lubricate the Drive Chain
The drive chain is critical for transferring engine power to the rear wheel.
Place the motorcycle securely and inspect the chain.
Look for:
- Excessive slack
- Rust
- Dry links
- Stiff links
- Damaged rollers
- Uneven wear
- Abnormal noise
- Sprocket wear
Clean the chain using a motorcycle-safe chain cleaner and a suitable brush.
After cleaning and drying, apply an appropriate chain lubricant.
Do not simply spray lubricant over a heavily contaminated chain and consider it serviced.
Step 9: Check Chain Slack and Alignment
Correct chain slack is essential.
Measure the chain slack at the specified location using the procedure given by Yamaha for the particular model.
If adjustment is necessary:
- Loosen the required rear-axle hardware as specified.
- Adjust both sides evenly.
- Maintain correct wheel alignment.
- Recheck chain slack.
- Tighten the axle hardware to the specified torque.
- Recheck alignment and chain movement.
Incorrect alignment can cause premature chain and sprocket wear and can affect handling.
Step 10: Inspect the Front and Rear Sprockets
Inspect both sprockets for abnormal tooth wear.
A worn sprocket may show:
- Hooked teeth
- Sharp tooth edges
- Uneven tooth profiles
- Excessive wear
If the chain and sprockets are significantly worn, replacing only one component may not provide a satisfactory result.
Follow the manufacturer’s recommendations for replacing the drive-set components.
Step 11: Check the Braking System
The braking system should be treated as a safety-critical area.
Inspect:
- Front brake pads
- Rear brake pads
- Brake discs
- Brake fluid
- Brake hoses
- Brake lever
- Brake pedal
- Caliper area
Check the brake pads for remaining friction material and inspect the discs for abnormal scoring, cracks, overheating, or excessive wear.
If brake fluid is due for replacement, use the correct fluid specification and follow the proper bleeding procedure.
Never allow oil, chain lubricant, or grease to contaminate brake discs or pads.
Step 12: Check Brake Fluid
Inspect the brake-fluid reservoirs and check the fluid level.
Abnormally low brake fluid may indicate:
- Pad wear
- Leakage
- Another brake-system problem
Do not simply add fluid without finding the reason for a significant level reduction.
Brake fluid absorbs moisture over time, so replacement should be performed according to the manufacturer’s service schedule.
Step 13: Inspect the Tyres
Check both tyres carefully.
Inspect for:
- Correct inflation pressure
- Tread wear
- Uneven wear
- Cracks
- Cuts
- Punctures
- Bulges
- Embedded objects
Use the recommended tyre pressure for the specific motorcycle and riding/load condition.
Do not rely only on visual inspection because a tyre can look normal while having incorrect pressure.
Step 14: Check the Wheels and Wheel Bearings
Spin the wheels where safe and appropriate and check for unusual noise or resistance.
Inspect:
- Wheel bearing condition
- Wheel play
- Rim damage
- Axle area
- Tyre seating
Any abnormal wheel play should be investigated before the motorcycle is ridden.
Wheel-bearing replacement requires correct tools and installation technique. Force should never be applied through the wrong bearing race.
Step 15: Inspect the Front Fork
Check the front suspension for:
- Oil leakage
- Damaged fork seals
- Scratches on fork tubes
- Abnormal movement
- Loose components
Clean the fork tubes and inspect them carefully.
Oil leaking from a fork seal can reduce suspension performance and may eventually create a safety problem if it reaches the brake components.
Step 16: Check the Rear Suspension
Inspect the rear shock absorber and linkage area for:
- Oil leakage
- Damage
- Excessive play
- Loose hardware
- Abnormal movement
Suspension components should operate smoothly without unusual knocking or excessive free play.
Step 17: Inspect the Battery
Check the battery condition and terminals.
Look for:
- Loose terminals
- Corrosion
- Damaged cables
- Poor connections
- Battery swelling or physical damage
If a battery charger or tester is used, use equipment appropriate for the motorcycle’s battery type.
A weak battery can cause starting and electrical-system problems even when the engine itself is healthy.
Step 18: Check the Electrical System
Turn on the ignition and check the major electrical functions.
Inspect:
- Headlight
- Tail light
- Brake lights
- Turn indicators
- Horn
- Instrument cluster
- Starter operation
- Switches
- Warning indicators
Check wiring and connectors for damage or loose connections.
If a warning light remains illuminated, use suitable diagnostic equipment and the manufacturer’s service information rather than simply disconnecting the battery to clear the warning.
Step 19: Inspect the Fuel System
Check the fuel system for visible leaks or damage.
Inspect:
- Fuel lines
- Fuel connections
- Tank area
- Injector-related components
- Throttle-body area
Do not attempt to open or disturb fuel-system components unnecessarily.
If fuel leakage is found, repair the problem before operating the motorcycle.
Step 20: Check the Clutch and Gear Operation
Check clutch operation with the engine off and then during a controlled test.
Look for:
- Correct clutch free play
- Smooth lever operation
- Difficulty selecting gears
- Clutch slipping
- Unusual noises
- Difficulty finding neutral
If the clutch is slipping or gear engagement is abnormal, further diagnosis may be necessary.
Do not compensate for a mechanical problem simply by making an excessive cable adjustment.
Step 21: Check the Throttle
The throttle should move smoothly and return properly when released.
Check:
- Throttle free play
- Cable or electronic throttle operation, depending on system
- Smooth opening
- Smooth closing
- Return action
A throttle that sticks or fails to return correctly should be repaired before riding.
Step 22: Check Fasteners
A professional motorcycle service should include a visual inspection of important fasteners.
Pay particular attention to:
- Brake components
- Axles
- Handlebar components
- Foot controls
- Exhaust mounting points
- Engine mounting areas
- Suspension components
Where a fastener is disturbed during service, use the specified torque rather than guessing.
Step 23: Start the Engine and Perform a Final Check
After completing the service, start the motorcycle and allow it to operate under safe conditions.
Check for:
- Oil leaks
- Coolant leaks
- Abnormal engine noise
- Warning lights
- Unusual vibration
- Exhaust abnormalities
- Cooling-fan operation where applicable
Do not rev a cold engine aggressively.
Allow the engine to reach normal operating conditions according to the manufacturer’s recommendations.
Step 24: Perform a Controlled Road Test
A short, controlled road test can help verify the service.
Check:
- Engine response
- Clutch engagement
- Gear shifting
- Braking
- Steering
- Suspension
- Chain noise
- Tyre behaviour
- Instrument warnings
Start slowly and confirm that the motorcycle behaves normally before returning to normal riding.
Common Yamaha R15 V4 Service Mistakes
Several mistakes can reduce the quality of a motorcycle service.
Overfilling Engine Oil
More oil does not mean better lubrication. Maintain the specified level.
Incorrect Chain Lubrication
Too much lubricant can attract dirt and contaminate surrounding components.
Ignoring Brake Pad Wear
Brake pads should never be judged only by whether the motorcycle still stops.
Using Incorrect Torque
Over-tightening can damage threads or components, while under-tightening can create dangerous looseness.
Ignoring Coolant Leaks
A small coolant leak can become a major overheating problem.
Cleaning Without Inspecting
Washing a motorcycle does not replace mechanical inspection.
Clearing Warning Lights Without Diagnosis
A warning indicator should be investigated rather than simply reset.
Yamaha R15 V4 Service Checklist
A practical service checklist can include:
- Engine oil level and replacement
- Oil filter inspection/replacement where applicable
- Air filter inspection
- Spark-plug inspection
- Cooling-system inspection
- Drive-chain cleaning and lubrication
- Chain slack and alignment
- Sprocket inspection
- Brake pads and discs
- Brake-fluid inspection
- Tyre pressure and condition
- Wheel bearings
- Front fork
- Rear suspension
- Battery
- Electrical system
- Fuel system
- Clutch operation
- Throttle operation
- Important fasteners
- Diagnostic scan when required
- Final road testRead also ev-battery-diagnostics-bms-testing
Final Thoughts
Proper Yamaha R15 V4 servicing is a systematic process rather than simply changing engine oil. Engine lubrication, air intake, cooling, chain drive, brakes, tyres, suspension, electrical components, battery, fuel system, and controls all contribute to the motorcycle’s performance and safety.
Following a structured inspection procedure helps identify small problems before they become expensive repairs. For exact service intervals, fluid specifications, torque values, valve-clearance measurements, and model-specific procedures, always use the official service information for the particular Yamaha R15 V4.
A careful service keeps the motorcycle reliable, responsive, and ready for everyday riding as well as demanding performance Rajesh technical Giyan