The Royal Enfield Bullet 350 is a popular motorcycle known for its strong low-end torque, relaxed riding character, and simple mechanical design. Like any internal-combustion engine, however, the engine can eventually develop problems because of wear, poor maintenance, overheating, incorrect lubrication, excessive use, or damaged internal components.
Engine repair should never begin by removing parts without diagnosis. A professional mechanic first identifies the symptoms, checks the basic systems, and then decides whether the problem requires a minor repair, top-end repair, or complete engine overhaul.
In this guide, I will explain a practical approach to diagnosing and repairing a Bullet 350 engine. The exact specifications, tightening torques, clearances, and removal procedures can vary by Bullet 350 generation and engine version, so always use the correct service information for the exact motorcycle being repaired.
1. Identify the Engine Problem First
Before opening the engine, carefully listen to the motorcycle and understand the complaint.
Common engine symptoms include:
- Difficulty starting
- Low engine power
- Excessive smoke
- Abnormal engine noise
- Poor acceleration
- Excessive oil consumption
- Engine overheating
- Rough idling
- Poor fuel economy
- Loss of compression
- Oil leakage
- Unusual vibration
Do not immediately assume that an internal engine component has failed.
For example, difficult starting can be caused by a weak battery, ignition problem, fuel-delivery issue, sensor fault, or compression problem. Similarly, unusual engine noise may originate from the timing system, valve train, clutch, exhaust, or another component.
A proper diagnosis saves both time and money.
2. Perform Basic Checks Before Engine Disassembly
Before removing the engine or opening the cylinder head, perform basic inspections.
Check the engine oil level and condition.
Inspect for visible oil leaks around the engine.
Check the air filter and intake system.
Inspect the spark plug on applicable petrol models.
Make sure the battery is sufficiently charged and the starting system operates correctly.
Also check whether the motorcycle has any warning lights or stored electronic faults.
If the engine can run safely, observe the idle quality, throttle response, exhaust smoke, and unusual noises.
These initial observations can provide valuable information before disassembly begins.
3. Check Engine Compression
Compression is an important part of engine diagnosis.
A compression test can help determine whether the combustion chamber is producing adequate pressure.
Low compression may be associated with:
- Worn piston rings
- Cylinder wear
- Valve leakage
- Incorrect valve timing
- Cylinder-head problems
- Head-gasket issues
The exact acceptable compression value depends on the specific engine and testing conditions, so compare your measurement with the manufacturer’s specification for the exact Bullet 350 engine.
If compression is low, further testing can help determine whether the problem is related primarily to the valves or the piston-and-cylinder assembly.
4. Prepare the Motorcycle for Engine Repair
If internal engine repair is required, prepare a clean and organized workspace.
Use appropriate motorcycle stands and make sure the motorcycle is stable.
Prepare suitable hand tools, sockets, torque tools, screwdrivers, pullers where required, measuring equipment, cleaning materials, replacement gaskets, seals, and other parts specified by the repair procedure.
Before disconnecting electrical connectors or hoses, identify and organize them carefully.
Keep removed bolts and components organized according to their location. Mixing different fasteners can create problems during reassembly.
Cleanliness is extremely important during engine work. Dirt entering an open engine can damage bearings, cylinder surfaces, oil passages, and other precision components.
5. Remove the Required External Components
Depending on the repair, remove the components necessary to access the engine.
These may include body panels, fuel-system components, exhaust components, electrical connections, cables, hoses, and other parts that obstruct access.
The exact removal sequence depends on the Bullet 350 generation.
Do not use excessive force on electrical connectors, plastic clips, or fuel-system connections.
Take photographs before disconnecting complicated wiring or hose arrangements. This can make reassembly much easier.
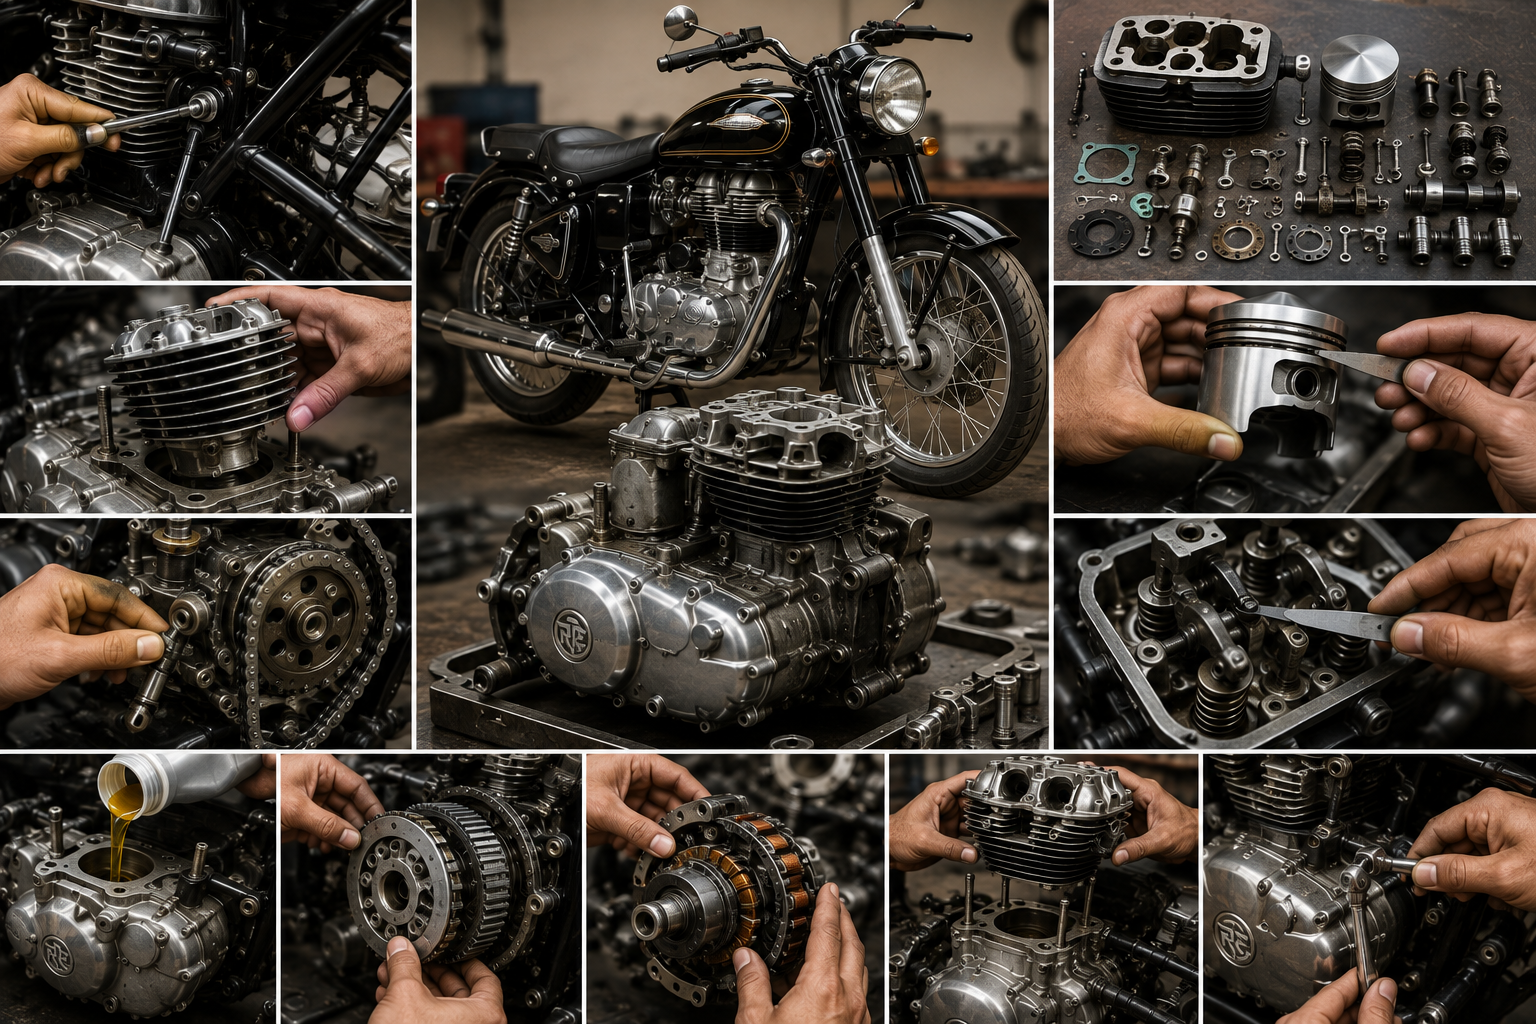
6. Remove the Cylinder Head Carefully
If the diagnosis indicates a top-end problem, the cylinder head may need to be removed.
Before removing timing-related components, position the engine according to the manufacturer’s timing procedure.
Marking components can be useful during disassembly, but timing should ultimately be set using the correct factory timing marks and procedure rather than relying only on personal markings.
Remove the necessary timing components and cylinder-head fasteners according to the recommended sequence.
Do not loosen or tighten cylinder-head fasteners randomly. Proper tightening sequence and torque are important for maintaining correct sealing and preventing distortion.
7. Inspect the Cylinder Head
Once the cylinder head is removed, inspect it carefully.
Look for:
- Carbon deposits
- Valve damage
- Valve-seat wear
- Oil leakage
- Head-gasket damage
- Signs of overheating
- Cracks or abnormal marks
- Unusual wear in the valve train
The valves should be checked for proper sealing.
If a valve is leaking, the cylinder head may require valve-seat inspection, valve servicing, or replacement of damaged components.
Do not automatically replace the entire cylinder head. First determine which component has actually failed.
8. Inspect the Piston and Cylinder
If compression problems or piston-related symptoms are present, inspect the piston and cylinder.
Look for:
- Cylinder scoring
- Excessive wear
- Piston damage
- Ring wear
- Carbon buildup
- Abnormal piston markings
- Signs of overheating
Cylinder condition should be measured rather than judged only by visual inspection.
Use appropriate measuring equipment to determine bore dimensions and wear.
If the cylinder is outside the manufacturer’s allowable specification, the appropriate repair may involve replacement or machining, depending on the engine design and manufacturer-approved repair limits.
9. Inspect the Piston Rings
Piston rings play an important role in compression and oil control.
Worn or damaged rings can contribute to:
- Low compression
- Excessive oil consumption
- Blue exhaust smoke
- Reduced engine performance
When inspecting rings, check their condition and relevant clearances according to the manufacturer’s specifications.
Never install piston rings simply by guessing their orientation or end-gap arrangement.
Follow the correct installation instructions for the specific engine.
10. Inspect the Crankcase and Lubrication System
If the engine requires deeper repair, inspect the crankcase and lubrication system.
Engine oil must reach the required bearings and moving components.
Inspect accessible oil passages for contamination or blockage.
Look for metal particles in drained oil or around filters and strainers where applicable.
Metal debris can be an important warning sign of internal wear.
If an engine has suffered a major internal failure, simply replacing the visibly damaged component may not be enough. Other components may also have been affected by circulating metal debris.
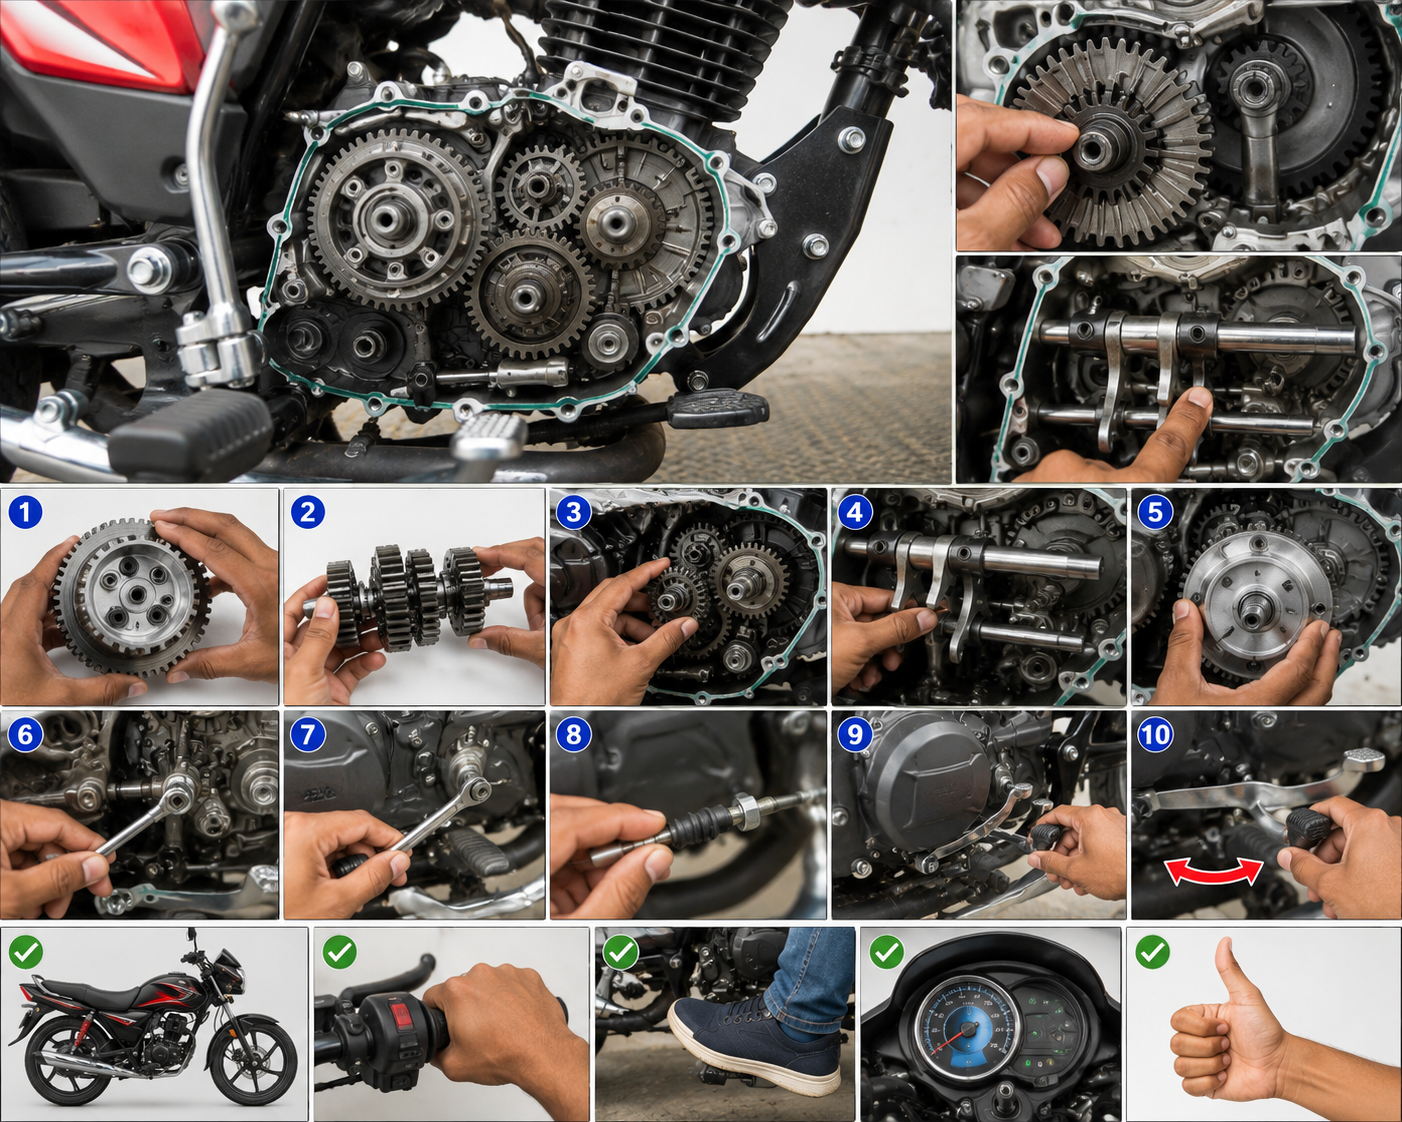
11. Check the Clutch and Transmission Area
Not every unusual engine noise is caused by the engine’s piston or crankshaft.
The clutch assembly can also produce noise, vibration, slipping, or engagement problems.
During a major engine repair, inspect relevant clutch components for abnormal wear.
Check friction components, plates, springs, and other parts according to the manufacturer’s inspection limits.
Transmission components should also be inspected if the motorcycle has gear engagement problems, abnormal transmission noise, or other symptoms indicating a gearbox-related issue.
12. Replace Damaged Gaskets and Seals
Whenever an engine component requires a gasket or seal that is intended for replacement during disassembly, use a new, correct-quality component.
Old compressed gaskets should not automatically be reused.
Before installing a new gasket, clean the mating surfaces carefully.
Do not apply excessive liquid gasket or sealant unless the service procedure specifically requires it.
Too much sealant can enter oil passages and create additional problems.
13. Reassemble the Engine Carefully
Engine reassembly is just as important as disassembly.
Before installation, clean all components and inspect them one more time.
Lubricate appropriate moving components with the specified lubricant during assembly where required.
Install the piston, rings, cylinder, cylinder head, timing components, and other parts according to the correct procedure.
Make sure locating dowels, seals, gaskets, and other small components are correctly installed.
Never force a component into position if it does not fit properly. Stop and determine why it is not fitting.
14. Set the Correct Valve and Timing Adjustments
Valve clearance and valve timing are critical to engine operation.
Incorrect valve clearance can cause starting problems, poor performance, excessive noise, or valve damage.
Incorrect camshaft timing can cause serious engine-performance problems and, depending on the engine design, may result in internal component damage.
After installing the timing components, rotate the engine manually according to the service procedure and recheck the timing marks.
Do not rely solely on the position of the camshaft or crankshaft by eye.
Always confirm the timing using the correct reference marks and manufacturer procedure.
15. Use the Correct Tightening Torque
One of the most important rules in engine repair is using the correct tightening torque.
Over-tightening can damage threads, distort components, or break fasteners.
Under-tightening can cause leaks, loosening, or inadequate clamping.
Use a properly calibrated torque wrench and follow the manufacturer’s specified torque values and tightening sequence for the exact Bullet 350 model.
Do not guess torque values from another motorcycle because similar-looking engines can have different specifications.
16. Refill Engine Oil Correctly
After completing the mechanical repair, refill the engine with the correct oil specification and quantity recommended for the specific Bullet 350 model.
Do not simply fill oil until it reaches an arbitrary level.
Follow the manufacturer’s checking procedure because the correct method may involve a particular engine temperature, motorcycle position, or waiting period.
After filling, inspect carefully for leaks.
17. Start the Engine and Perform Initial Checks
Before the first start after a major engine repair, perform a final inspection.
Check:
- Electrical connections
- Fuel connections
- Oil level
- Coolant system if applicable
- Throttle operation
- Clutch operation
- Brake operation
- Engine mounting
- Exhaust installation
- Wiring and hoses
Start the engine according to the correct procedure.
Do not immediately rev a freshly repaired engine aggressively.
Listen for abnormal mechanical noises and monitor for oil leaks, warning lights, smoke, or other unusual symptoms.
If anything appears abnormal, switch the engine off and investigate before continuing.
18. Perform a Final Road Test
After the engine reaches normal operating conditions and all initial checks are satisfactory, perform a controlled road test in a safe area.
Pay attention to:
- Starting performance
- Idle quality
- Throttle response
- Engine vibration
- Gear shifting
- Clutch operation
- Acceleration
- Engine temperature
- Unusual noises
- Oil leakage
Do not perform aggressive high-speed testing immediately after a major rebuild.
Follow the manufacturer’s recommendations regarding engine break-in, if applicable to the repair performed.
Common Mistakes During Bullet 350 Engine Repair
Several mistakes can cause problems even after replacing damaged components.
Common mistakes include:
- Opening the engine without proper diagnosis
- Reusing damaged gaskets
- Incorrect timing installation
- Incorrect valve clearance
- Over-tightening fasteners
- Under-tightening fasteners
- Installing piston rings incorrectly
- Allowing dirt to enter the engine
- Using incorrect engine oil
- Ignoring oil passages
- Forgetting connectors or hoses
- Starting the repaired engine without checking oil level
- Replacing expensive parts without confirming the actual fault
A professional repair is not simply about replacing parts. It is about identifying the actual cause of failure and restoring the engine according to the manufacturer’s specifications.
When Should You Consider a Complete Engine Overhaul?
A complete overhaul may be considered when multiple internal components have significant wear or when the engine has suffered major internal damage.
Possible warning signs include persistent low compression, severe oil consumption, heavy internal noise, damaged piston or cylinder components, crankshaft or bearing problems, or extensive contamination following an internal failure.
However, an overhaul should be based on measurements and diagnosis rather than mileage alone.
A high-mileage engine that has been properly maintained may still have serviceable components, while a poorly maintained engine can require major repair much earlier.read also kia-sonet-mileage-improvement-tips
Final Thoughts
Repairing a Royal Enfield Bullet 350 engine requires patience, cleanliness, correct tools, accurate measurements, and proper technical knowledge.
The most important step is always diagnosis before disassembly. Once the actual problem has been identified, inspect the affected components carefully, replace damaged parts with suitable components, use new gaskets and seals where required, set the correct timing and clearances, and tighten fasteners according to the manufacturer’s specifications.
Remember that the exact engine design and repair procedure can vary between different Bullet 350 generations. Therefore, always consult the correct service manual or manufacturer specifications for your particular motorcycle before performing major engine work.
With the right approach, careful inspection, and proper assembly, a repaired Bullet 350 engine can deliver smooth operation, reliable performance, and long service life.
I hope this complete Bullet 350 engine repair guide helps motorcycle owners, DIY enthusiasts, and beginner mechanics understand the basic professional approach to engine diagnosis and repair.
For more practical motorcycle repair guides, engine troubleshooting methods, maintenance tips, and workshop knowledge, keep visiting Rajesh Technical Giyan.