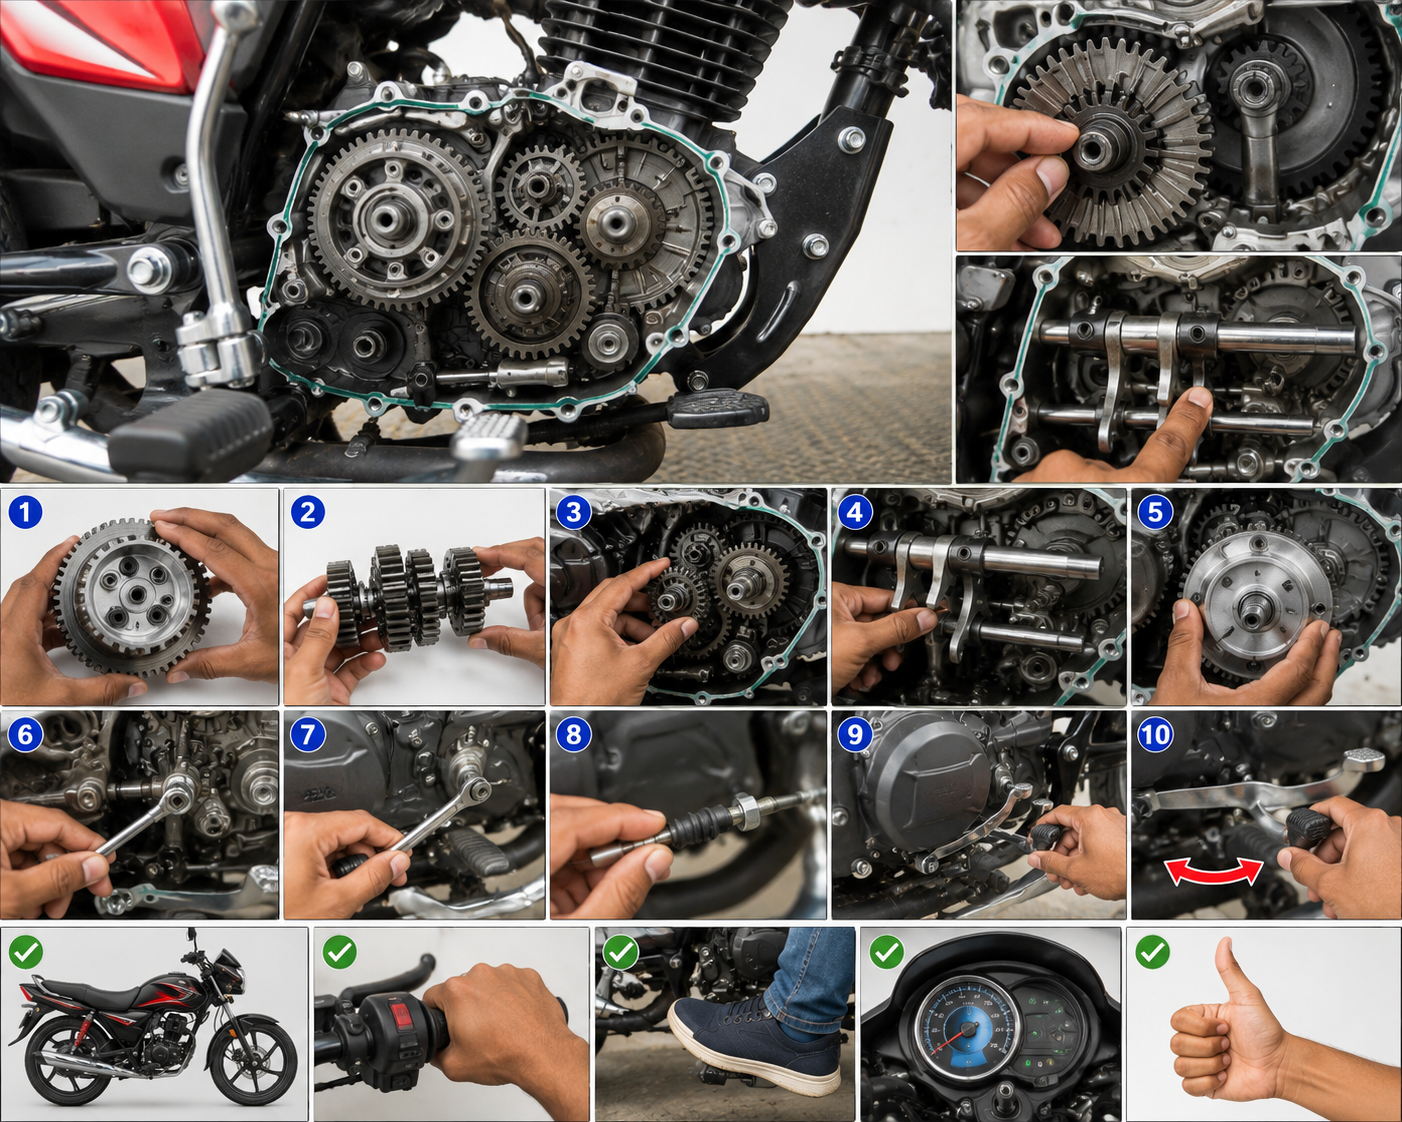
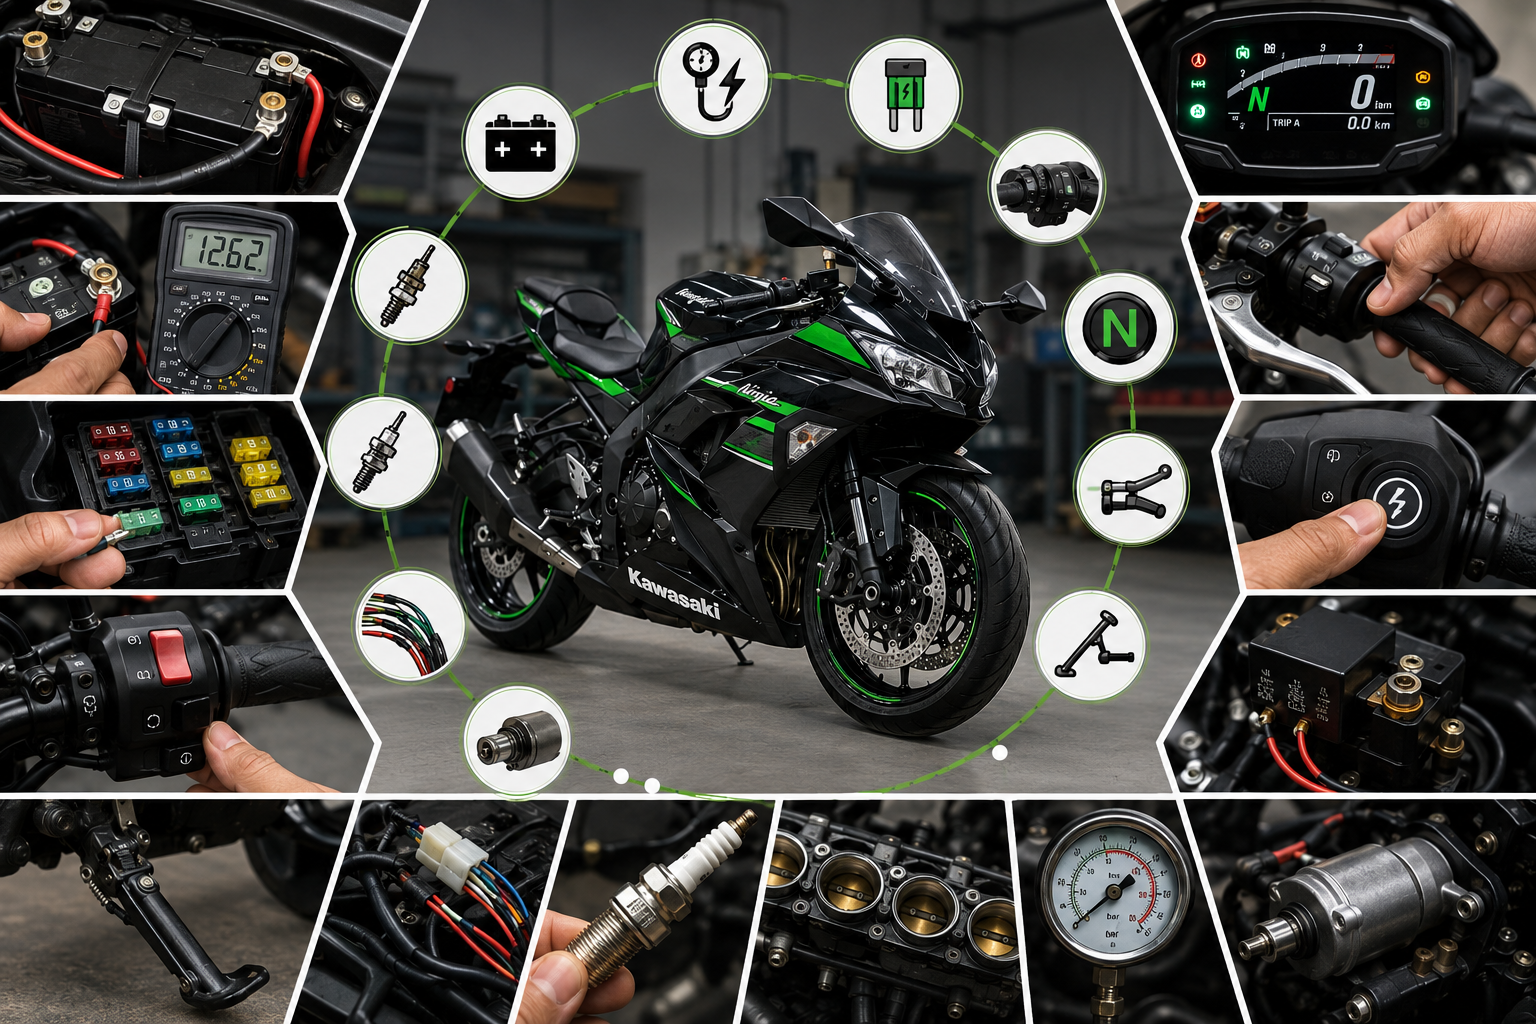
In this guide we explain the step-by-step method to diagnose and resolve the self-start issue on a Kawasaki bike, so that riders and beginner mechanics can understand the complete troubleshooting process
A motorcycle that does not start with the electric starter can have several possible causes. Sometimes the problem is as simple as a weak battery or loose battery terminal. In other cases, the problem may come from the starter relay, starter motor, ignition switch, clutch switch, side-stand switch, neutral switch, wiring connection, fuse, or even an engine-related issue.
Therefore, replacing parts randomly is not a good repair method. A proper diagnosis should always begin with the simplest checks and gradually move toward more complicated components.
Understanding the Kawasaki Self-Start System
Before diagnosing the problem, it is important to understand how the electric starting system works.
When you press the self-start button, the motorcycle’s electrical control system checks several safety conditions. Depending on the specific Kawasaki model, these may include the ignition switch, engine stop switch, neutral switch, clutch switch, and side-stand switch.
If the required conditions are satisfied, electrical power is supplied to the starter relay. The starter relay then allows high current to flow toward the starter motor. The starter motor rotates the engine through the starter mechanism, allowing the engine to begin its combustion cycle.
This means that a self-start problem does not necessarily mean that the starter motor itself is defective.
Step 1: Check the Battery First
The battery should be the first component checked because the starter motor requires substantial electrical current.
Turn the ignition ON and observe the instrument cluster, headlight, indicators, and other electrical components.
If the dashboard becomes very dim when you press the starter button, or you hear repeated clicking from the relay, the battery may be weak or discharged.
A multimeter can be used to check battery voltage. Measure the voltage directly across the positive and negative battery terminals.
A healthy fully charged motorcycle battery will normally show a voltage around the mid-12-volt range when the engine is switched off, although exact readings depend on battery condition, temperature, and the motorcycle’s electrical system.
Do not judge battery condition from voltage alone. A battery may show reasonable voltage without being capable of delivering sufficient cranking current.
If the battery is weak, charge it using an appropriate motorcycle battery charger or test it with suitable battery-testing equipment.
Step 2: Inspect the Battery Terminals
After checking the battery, inspect both terminals carefully.
A loose or corroded battery connection can prevent sufficient current from reaching the starter motor.
Check:
- Positive battery terminal
- Negative battery terminal
- Battery cable connections
- Ground connection to the chassis
- Engine ground connection
- Signs of corrosion or overheating
Clean dirty terminals and tighten the connections properly.
Never ignore the negative ground cable. A poor ground connection can produce symptoms that look like a defective starter motor or relay.
Step 3: Check the Main Fuse and Other Fuses
The next step is to inspect the motorcycle’s fuses.
A blown fuse can interrupt electrical power to the starting system or related control circuits.
Locate the fuse box according to the motorcycle’s service information and inspect the relevant fuse.
Do not simply replace a repeatedly blown fuse with another fuse of a higher rating. The correct fuse rating specified for the motorcycle should always be used.
If a replacement fuse immediately blows again, there may be a short circuit or another electrical fault that needs to be diagnosed.
Step 4: Check the Engine Stop Switch
Many riders overlook the engine stop switch.
Make sure the engine stop switch is in the RUN position.
If the switch is in the OFF position, the motorcycle may not start even though the battery, starter motor, and other components are working normally.
If the switch feels loose, damaged, or operates inconsistently, inspect the switch and its wiring.
Step 5: Check the Neutral Indicator
Put the motorcycle into neutral and check whether the neutral indicator operates normally.
The neutral switch is an important part of the starting safety circuit on many motorcycles.
If the motorcycle is actually in neutral but the neutral indicator does not illuminate, inspect the neutral switch, wiring, connector, and related circuit.
However, do not assume that a neutral light problem is always the cause of the starting issue. Some models use multiple safety inputs and may permit starting under different conditions.
Step 6: Check the Clutch Switch
The clutch switch is another important component in the motorcycle starting circuit.
On many motorcycles, pulling the clutch lever is required before the starter can operate when the transmission is not in neutral.
Pull the clutch lever fully and press the starter button.
If the starter works only when the lever is moved to a particular position, the clutch switch or its adjustment may require inspection.
Check the switch connector and wiring for damage, loose connections, dirt, or corrosion.
Step 7: Inspect the Side-Stand Switch
A faulty side-stand switch can also cause starting or running problems.
The side-stand safety system is designed to prevent unsafe operation under certain conditions.
Move the side stand completely upward and check whether the motorcycle responds normally.
Inspect the side-stand switch and its wiring for physical damage, contamination, loose connectors, or broken wires.
Do not permanently bypass a safety switch simply to make the motorcycle start. These systems are installed for rider safety, and the correct repair is to diagnose and repair the fault according to the motorcycle’s service procedure.
Step 8: Listen to the Starter Relay
Now pay attention to what happens when you press the self-start button.
There are several common situations.
No Sound at All
If there is absolutely no sound when pressing the starter button, investigate the control side of the starting circuit.
Possible causes include:
- Starter switch problem
- Ignition switch problem
- Fuse problem
- Clutch switch problem
- Neutral switch problem
- Side-stand switch problem
- Wiring fault
- Starter relay control problem
Single Click
A single click may indicate that the starter relay is receiving a command but the starter motor is not turning.
Possible causes include:
- Weak battery
- Poor battery connection
- Poor ground connection
- Faulty starter relay
- Starter motor problem
- High resistance in the starter circuit
Rapid Clicking
Rapid clicking commonly indicates insufficient voltage or current reaching the starter system, although proper testing is necessary before replacing components.
Step 9: Inspect the Starter Relay
The starter relay acts as a high-current electrical switch between the battery and starter motor.
If the relay receives the correct control signal but does not deliver battery power to the starter motor, the relay may be defective.
A technician should use a multimeter or suitable electrical test equipment to verify the relay input, control signal, and output.
Do not randomly short electrical terminals with tools. Incorrect testing can cause sparks, electrical damage, or injury.
Step 10: Check the Starter Motor
If battery voltage and the starting circuit are functioning correctly but the starter motor does not rotate, the starter motor should be inspected.
Possible starter motor problems include:
- Worn brushes
- Dirty commutator
- Internal electrical failure
- Damaged bearings or bushings
- Excessive internal resistance
- Mechanical seizure
A professional technician can remove the starter motor and inspect it according to the service manual.
If the starter motor is repairable, worn components can be replaced where appropriate. Otherwise, the motor may need replacement.
Step 11: Inspect the Wiring and Connectors
Electrical connectors are often overlooked during motorcycle troubleshooting.
Inspect the wiring from the battery toward the starter relay and starter motor.
Look for:
- Broken wires
- Loose connectors
- Corrosion
- Burn marks
- Water entry
- Damaged insulation
- Poor ground connections
- Previous repair work
A wire can appear normal from outside but still have an internal break or high resistance.
Use a wiring diagram and multimeter for accurate diagnosis rather than guessing.
Step 12: Check the Starter Button
If the starter motor and relay are healthy but the starter does not respond when the button is pressed, inspect the starter switch.
Dirt, moisture, corrosion, or worn internal contacts can prevent the switch from sending the required signal.
Carefully inspect the switch assembly and connector.
Do not use excessive force or unsuitable chemicals inside electrical switchgear.
Step 13: Check Engine Mechanical Condition
If the starter motor rotates the engine normally but the Kawasaki still does not start, the problem may no longer be a self-start electrical problem.
At this stage, investigate the engine’s basic requirements:
Air + Fuel + Spark + Compression + Correct Timing
Check whether the engine is receiving the correct fuel supply.
Then inspect the ignition system and spark plug according to the manufacturer’s service procedure.
If necessary, perform a compression test.
Low compression can be caused by valve-related problems, piston-ring wear, cylinder problems, head-gasket failure, or other mechanical issues.
Correct ignition and valve timing should also be verified if the engine has recently been repaired or if there are symptoms suggesting a timing problem.
Step 14: Use Diagnostic Equipment When Required
Modern Kawasaki motorcycles may contain electronic control systems that require diagnostic equipment for certain faults.
If the motorcycle has an engine warning light or stored diagnostic fault, a compatible diagnostic scanner can help identify the affected system.
However, a diagnostic code should not automatically be interpreted as proof that a particular component must be replaced.
The code is a starting point for diagnosis. Wiring, connectors, power supply, ground, sensors, and related components should also be checked.
Common Causes of Kawasaki Self-Start Problems
The most common causes can be summarized as follows:
- Weak or discharged battery
- Loose battery terminal
- Corroded ground connection
- Blown fuse
- Faulty starter relay
- Damaged starter button
- Clutch switch problem
- Neutral switch problem
- Side-stand switch problem
- Wiring or connector fault
- Faulty starter motor
- Ignition or engine-management issue
- Fuel delivery problem
- Spark plug or ignition problem
- Low engine compression
The important point is that the exact cause depends on the motorcycle model and the symptoms.
A Practical Diagnostic Sequence
When a Kawasaki motorcycle has a self-start problem, I recommend following this logical sequence:
Battery → Battery terminals → Ground → Fuse → Engine stop switch → Neutral/clutch/side-stand safety switches → Starter button → Starter relay → Starter motor → Wiring → Engine fuel/spark/compression diagnosis
This sequence helps prevent unnecessary replacement of expensive components.
Important Safety Precautions
Always work in a well-ventilated area and keep the motorcycle securely supported.
Keep sparks, cigarettes, and open flames away from the battery and fuel system.
Use the correct tools and follow the manufacturer’s service information for your exact Kawasaki model.
Disconnect the battery when performing repairs that require it, while remembering that some motorcycles may have specific procedures for electrical or electronic systems.
Never bypass safety systems permanently just to make the motorcycle start.
If you are not comfortable working with high-current electrical circuits, seek help from a qualified motorcycle technician.read also how-to-check-head-air-compressor-mahindra-scorpio
Final Thoughts
A Kawasaki bike that does not self-start should not immediately be assumed to have a bad starter motor. The starting system contains several electrical, mechanical, and safety-related components, and a failure in any one of them can prevent normal starting.
The best repair method is systematic diagnosis. Start with the battery and its connections, then move through the fuses, switches, wiring, starter relay, and starter motor. If the starter motor turns the engine but the engine does not actually start, move on to fuel, spark, compression, and timing diagnosis.
With a multimeter, basic tools, a wiring diagram, and the correct service information, many starting faults can be identified much more accurately.
I hope this Kawasaki self-start troubleshooting guide helps riders, DIY enthusiasts, and beginner mechanics understand how to diagnose starting problems without replacing parts unnecessarily.
For more practical motorcycle repair guides, engine troubleshooting methods, maintenance information, and workshop tips, keep visiting Rajesh Technical Giyan.
1 thought on “Kawasaki Bike Self-Start Problem: Step-by-Step Solution Guide”