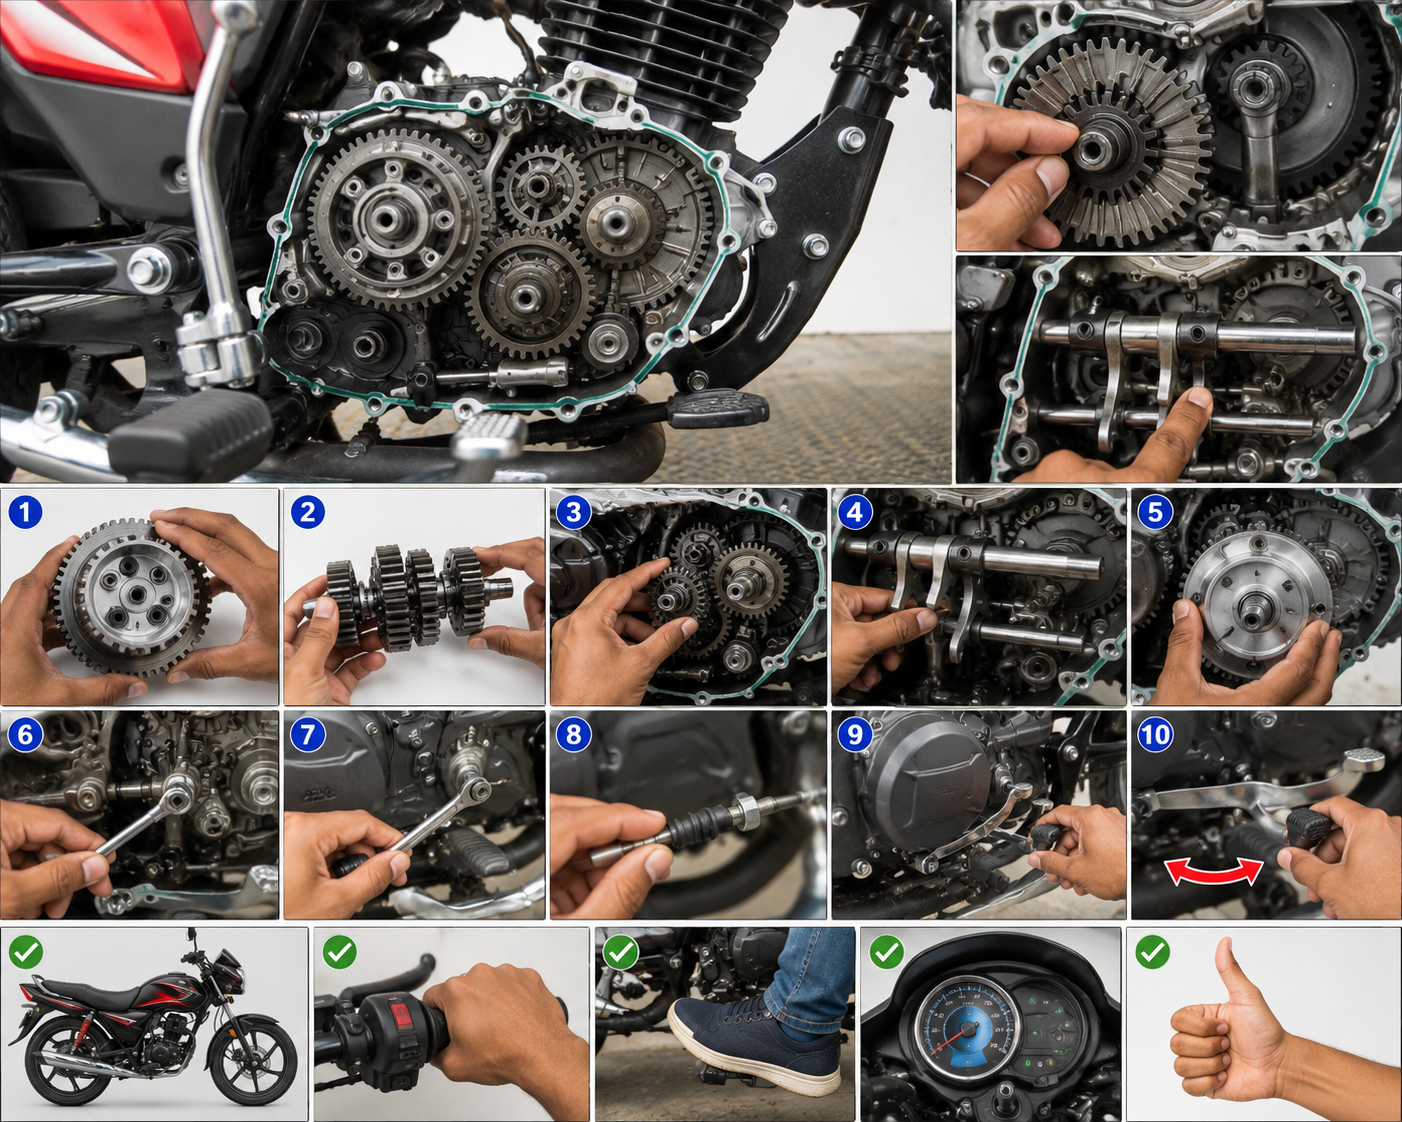
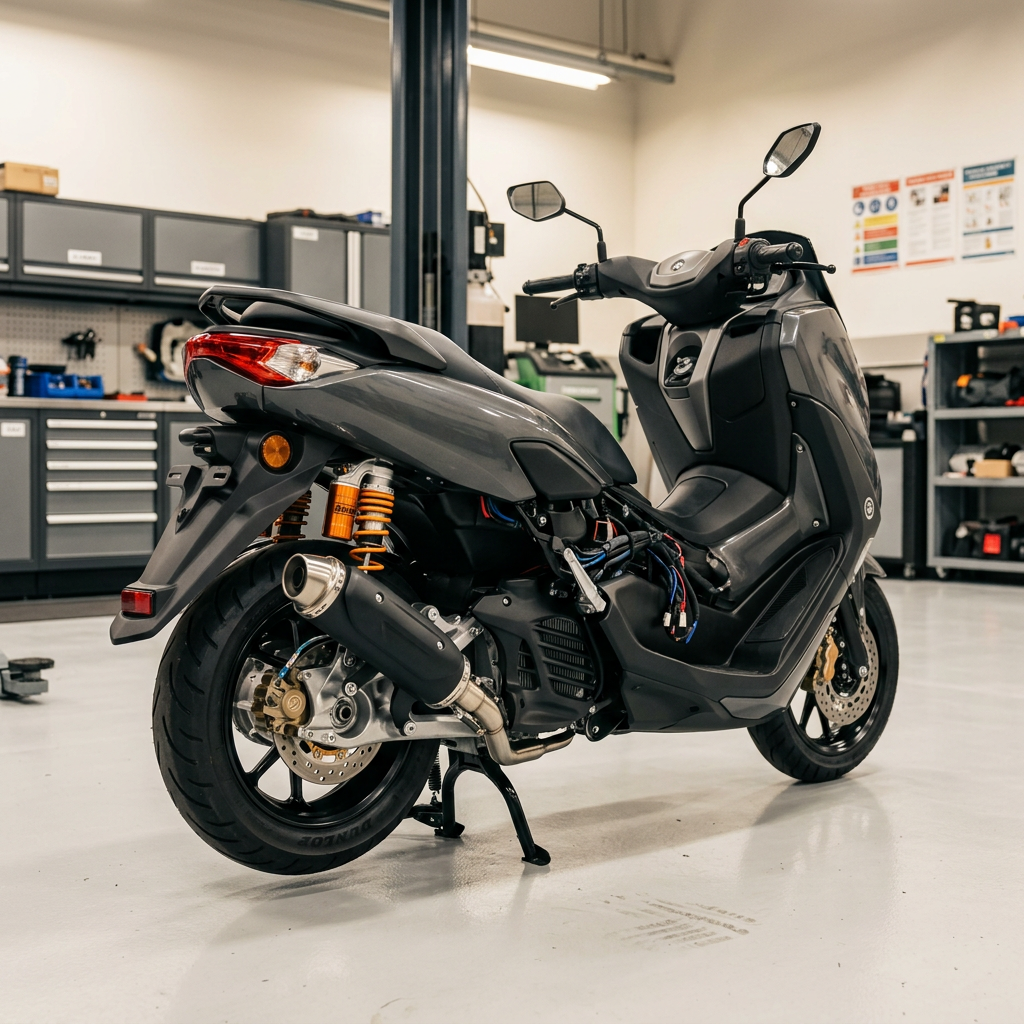
the Honda Activa full engine fitting process step by step. Proper engine installation is important for smooth performance, reliable starting, reduced vibration, and safe riding.
The Honda Activa is a popular automatic scooter used for daily commuting. Over time, engine damage, crankshaft problems, worn bearings, or major mechanical faults may require the engine to be removed for repair and reinstalled.
Engine fitting is not simply a matter of tightening a few bolts. The engine must be correctly positioned, the mounting hardware must be secured, and every electrical connector, cable, hose, and related component must be installed correctly.
Important: Honda Activa models differ by generation, engine capacity, and fuel system. This guide explains the general process. Always follow the service manual for your exact model before performing the repair.
1. Tools and Equipment Required
Before starting the engine fitting job, prepare the necessary tools and equipment.
- Socket and spanner set
- Screwdrivers
- Ratchet and extension bars
- Torque wrench
- Pliers and suitable gripping tools
- Engine support jack or lifting equipment
- Drain pan, if engine oil must be removed
- Cleaning cloths
- Suitable replacement gaskets, seals, and fasteners, if required
- Correct engine oil for the specific Activa model
- Model-specific Honda Activa service manual
A torque wrench is especially important because over-tightening can damage threads, while insufficient tightening can allow components to loosen during operation.
2. Prepare the Scooter for Engine Installation
Park the Honda Activa on a flat, stable surface. Place it on its centre stand and ensure that the scooter cannot move or fall during the repair.
Switch off the ignition and remove the key. Disconnect the battery according to the manufacturer’s service procedure to reduce the risk of an electrical short circuit.
Allow the engine and exhaust system to cool completely before handling them.
If the engine was removed for an overhaul, inspect the surrounding frame, mounting brackets, wiring harness, rubber bushes, and fasteners. Replace damaged components before installing the engine.
Keep small parts in separate containers so that bolts, washers, clips, and spacers do not get mixed up.
3. Inspect the Engine Before Fitting
Before lifting the engine into position, inspect it carefully.
Check the crankcase for visible cracks, damage, or oil leakage. Examine the engine mounting points for damaged threads or worn surfaces. Inspect the cylinder head, spark plug area, intake connection, and exhaust mounting points.
If the engine has been overhauled, verify that the internal assembly has been completed according to the correct service manual.
Check the following items:
- Engine mounting points and brackets
- Crankcase condition
- Oil seals and gaskets
- Intake manifold and air duct connections
- Starter motor and electrical terminals
- Alternator wiring and connectors
- Exhaust mounting threads
- Engine oil drain bolt and sealing washer
Do not install an engine with unresolved internal damage or missing critical fasteners.
4. Position the Engine Correctly
Support the scooter securely and use an appropriate engine support or lifting device. A scooter engine assembly can be heavy and awkward to handle, so do not attempt to balance it by hand while inserting mounting bolts.
Carefully raise the engine into its original position. Align the engine mounting holes with the corresponding holes in the frame or engine hanger.
Move the engine slightly with the support equipment until the holes line up naturally.
Never force a mounting bolt through misaligned holes. Forcing the bolt may damage the threads, mounting bracket, or frame.
Once the engine is correctly positioned, insert the appropriate mounting hardware in the direction specified by the service manual. Initially tighten the fasteners by hand so the assembly can settle into its proper position.
5. Install and Tighten the Engine Mounting Bolts
After positioning the engine, check that the mounting brackets, spacers, bushes, washers, and nuts are installed in their correct locations.
Tighten the mounting hardware using the specified sequence and torque values for the exact Activa model.
Do not assume that all Honda Activa generations use the same engine mounting torque. Specifications from an older Activa may not apply to a newer 110 cc or 125 cc model.
Use a calibrated torque wrench and the manufacturer’s service information. If any mounting bolt has damaged threads or the bracket is bent, correct the problem before proceeding.
After tightening, check that the engine is securely mounted and that no wiring or hose has become trapped between the engine and frame.
6. Reconnect the Rear Suspension and Brake System
Depending on the model and the extent of disassembly, the rear shock absorber mounting and rear brake linkage or cable may need to be reinstalled.
Position the rear shock absorber correctly and fit its mounting hardware. Tighten the fasteners according to the model-specific service manual.
Reconnect the rear brake cable or linkage, including the correct clips and adjusters. Set the brake free play to the manufacturer’s specification.
Operate the brake lever several times and confirm that the brake engages and releases correctly.
Do not ride the scooter if the brake cable is incorrectly routed, the brake does not release, or any suspension mounting hardware remains loose.
7. Reconnect the Electrical Wiring
Correct electrical connections are essential for starting and charging system operation.
Reconnect the electrical components that were disconnected during engine removal. Depending on the Activa model, these may include the starter motor cable, alternator connector, ignition-related connectors, earth or ground wire, and other engine-associated wiring.
Follow the wiring diagram for the exact model rather than relying only on wire colours.
Make sure every connector is fully seated and any locking tab is engaged. Route the harness away from hot exhaust components, sharp edges, and moving parts.
Check that the starter motor cable is secure and that the battery terminals are correctly connected according to the manufacturer’s procedure.
Never allow an exposed positive terminal to touch the frame or another metal component.
8. Install the Air Intake System
Reconnect the air duct, intake hose, air cleaner housing, and related clamps that were removed during the repair.
Inspect the rubber intake components for cracks, hardening, or loose connections. Replace damaged parts before operating the scooter.
Fit the hose clamps in their correct positions and tighten them appropriately. An improperly fitted intake hose can allow unfiltered air to enter the engine or cause running problems.
For carburetted Activa versions, inspect the carburettor connections and fuel hose routing. For fuel-injected versions, follow the model-specific fuel-system procedure.
Check that fuel lines are secure and free from leaks before starting the engine.
9. Refit the Exhaust System
Position the exhaust pipe and muffler correctly. Inspect the exhaust gasket, mounting bolts, and threaded mounting points.
Replace a damaged exhaust gasket where required. Install the exhaust mounting hardware and tighten it to the specification provided for the model.
The exhaust must not contact electrical wiring, hoses, body panels, or other components incorrectly.
After installation, inspect the exhaust joint for visible gaps or signs of leakage. Do not touch the exhaust immediately after engine operation because it can become extremely hot.
10. Refill and Check the Engine Oil
If the engine oil was drained during the repair, refill the engine using the correct grade and quantity specified for the exact Activa model.
Engine oil capacity varies between models and may also differ depending on whether the engine has been drained or completely disassembled. Therefore, do not use a universal quantity for every Activa.
Check that the drain bolt and sealing washer are correctly installed. Tighten the drain bolt according to the relevant service manual.
Fill the oil through the designated filler opening. Check the oil level using the manufacturer’s prescribed method, keeping the scooter on a level surface.
Never start an engine that has insufficient oil or an uncertain lubrication supply.
11. Perform a Pre-Start Inspection
Before starting the engine, conduct a careful inspection.
Confirm that:
- All required engine mounting fasteners are correctly tightened.
- The rear suspension mounting is secure.
- The rear brake operates correctly.
- Electrical connectors and ground wires are attached.
- The intake duct and air cleaner are installed.
- Fuel hoses are correctly routed and leak-free.
- The exhaust system is securely mounted.
- Engine oil is at the correct level.
- No tools or loose parts remain near moving components.
Turn the ignition on and check for any warning indicators relevant to the model. If the scooter has a fuel-injection system, follow the manufacturer’s starting procedure.
If you notice a fuel leak, exposed wiring, abnormal resistance, or an unsecured component, stop and correct the problem before starting the engine.
12. Start the Engine and Check Its Performance
Start the Activa in a well-ventilated workshop or outdoor area, away from people and combustible materials.
Allow the engine to idle without unnecessarily increasing the throttle. Listen for abnormal knocking, grinding, rattling, or excessive vibration.
Inspect the engine area for oil leakage, fuel leakage, or exhaust leakage. Confirm that the engine runs steadily and that any relevant warning lights behave as described in the owner’s manual.
If the engine does not start, do not repeatedly crank it without investigating the cause. Check the battery, electrical connectors, fuel supply, ignition system, and any model-specific fault indicators.
If you hear a serious mechanical noise, notice an oil-pressure warning where fitted, or detect a fuel leak, switch off the engine immediately and investigate the fault.
13. Final Inspection After Engine Fitting
Once the engine runs normally, switch it off and perform a final inspection according to the service manual.
Recheck the accessible mounting hardware, hose clamps, wiring routing, exhaust connections, and oil level using the prescribed procedure. Do not tighten hot components or apply additional torque without a specified procedure.
Before road use, confirm the operation of both brakes, throttle return, lights, indicators, horn, and other essential controls.
Any road test should be performed only after the scooter has passed all safety checks. If the engine has undergone a major overhaul, follow the recommended running-in procedure.
Common Problems After Honda Activa Engine Fitting
Engine Does Not Start
Possible causes include a disconnected electrical connector, weak battery, incorrect fuel supply, ignition fault, or an improperly connected component.
Check each system methodically using the correct wiring diagram and diagnostic procedure.
Excessive Engine Vibration
Incorrectly positioned mounting bushes, loose fasteners, damaged mounting brackets, or an internal engine fault may cause excessive vibration.
Inspect the mounting system before assuming that the engine itself needs another overhaul.
Oil Leakage
Oil leakage may result from a damaged gasket, improperly installed seal, loose drain bolt, or damaged sealing surface.
Clean the affected area and identify the exact source before replacing parts or tightening fasteners.
Unusual Noise
Knocking, grinding, or metallic rattling may indicate an internal mechanical issue, incorrect assembly, or a loose external component.
Stop the engine if the noise is severe and arrange a proper inspection before further operation. Read also/adventure-motorcycle-repair-maintenance
Conclusion
Honda Activa full engine fitting requires careful preparation, correct engine positioning, secure mounting, accurate wiring connections, proper brake adjustment, and thorough testing.
Following the correct service manual for your particular model is essential because mounting arrangements, electrical systems, oil capacities, and torque specifications can differ between generations.
If you are unfamiliar with engine lifting, electrical connections, or torque-controlled assembly, have a qualified scooter mechanic complete or inspect the installation. Correct fitting helps protect the engine and supports safe, reliable scooter operation.
At Rajesh Technical Giyan, our goal is to provide practical vehicle repair and maintenance information that helps readers understand their machines and make informed repair decisions.
1 thought on “Honda Activa Full Engine Fitting: Step-by-Step Installation Guide”