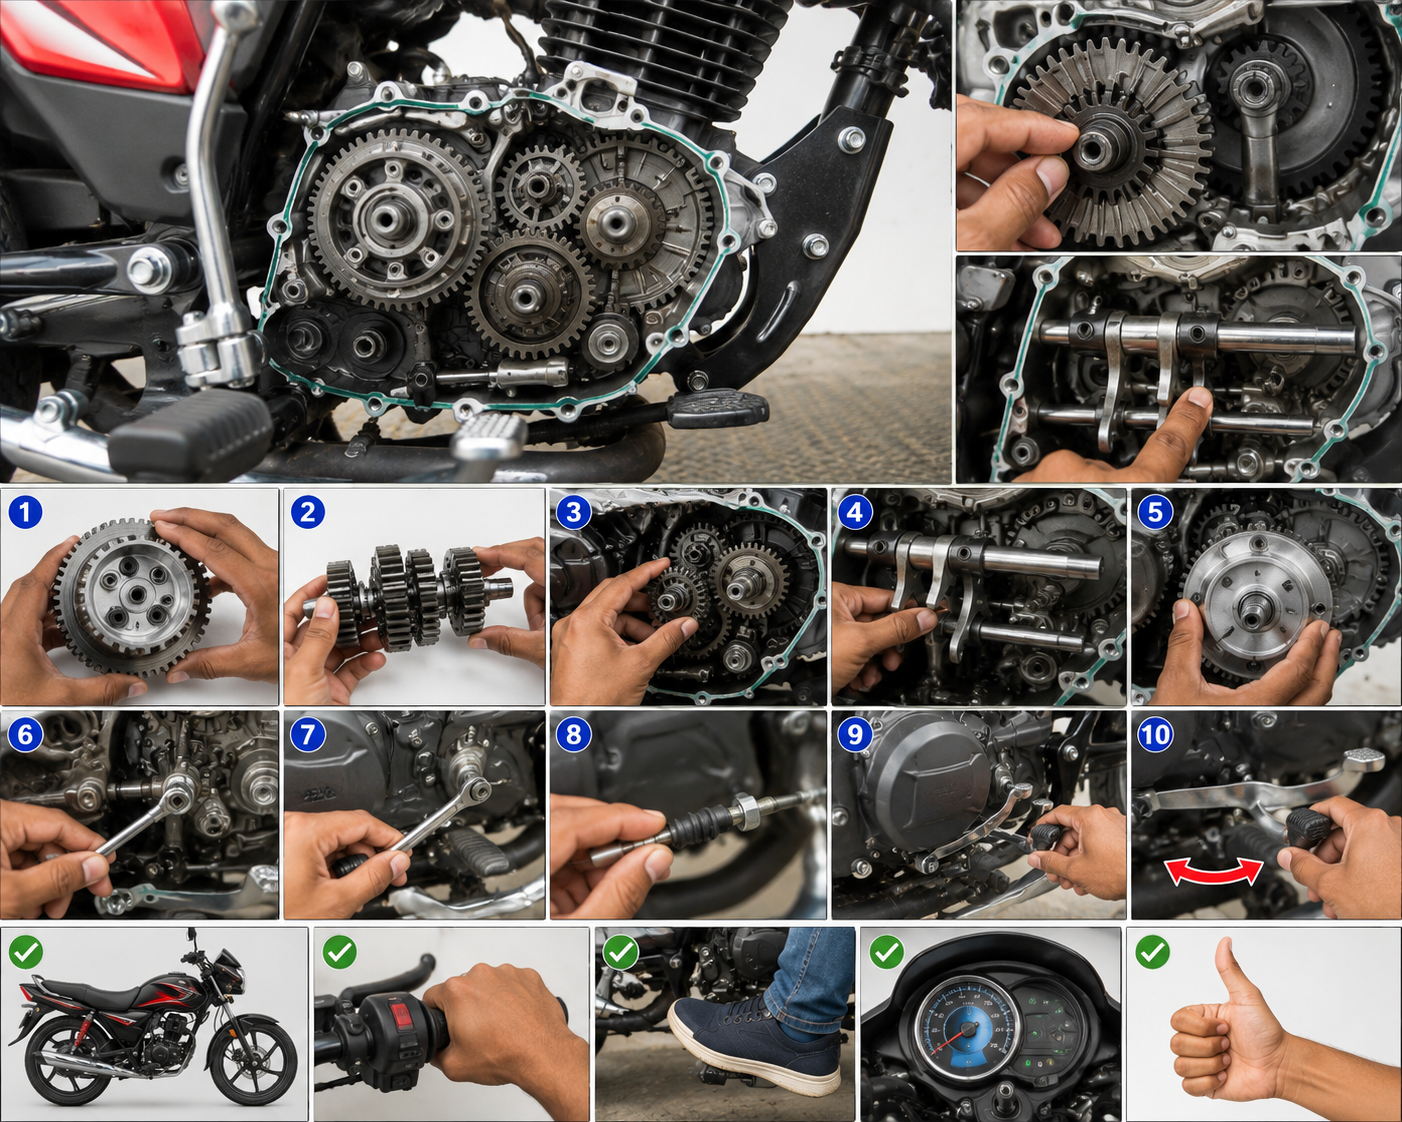
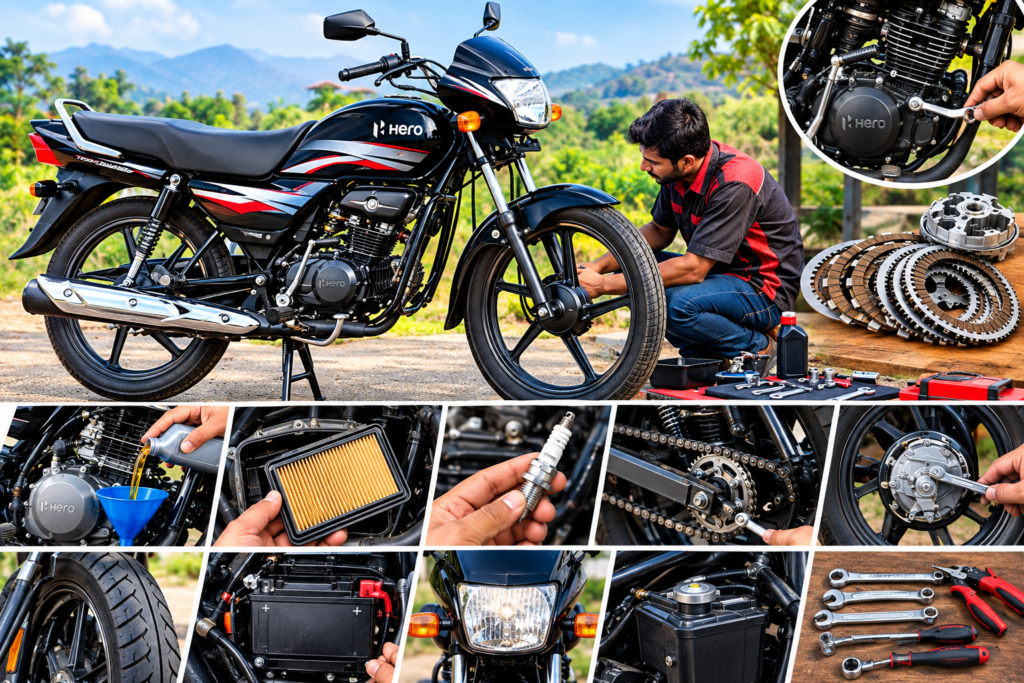
A loose battery lead or worn tyre can turn a short ride into a roadside stop. This BS4 Hero CD Dawn bike repair guide helps you spot common faults early, avoid unnecessary part swaps, and keep unsafe problems off the road. It covers basic checks, not a replacement for a trained mechanic.
Repair steps and specifications can vary by model year and market version. Confirm your bike’s exact variant, then use its owner’s or service manual for part details, limits, and approved repair methods.
Confirm Your BS4 Hero CD Dawn Variant Before Repairs
The right part or adjustment depends on the exact motorcycle, not only its name or appearance. Check the bike’s identifying details before buying parts or starting work. A correct match also helps you use the right service instructions.
Check the model year, variant, and frame details
Compare the model year and variant on your registration papers with the details on the motorcycle. Frame and engine numbers can help confirm its identity; their locations may vary, so check the manual. If any details don’t match, ask a Hero dealer or qualified mechanic to verify the bike before ordering parts.
Gather tools and reference material
A basic tool set, suitable spanners, screwdrivers, pliers, a tyre-pressure gauge, clean cloths, and a torch can handle many visual checks. Use tools that fit well to avoid rounding fasteners. Keep the correct manual nearby for torque values, clearances, fluid types, tyre pressures, and adjustment limits. Don’t guess these figures.
Set up a safe repair area
Park on firm, level ground and support the motorcycle as the manual directs. Let the engine cool before inspecting parts near the exhaust or cylinder. Wear gloves when handling dirty parts and eye protection when debris or fluid could splash. Keep fuel away from flames, sparks, and other ignition sources.
Catch Wear and Maintenance Problems Early
A short inspection before a ride can reveal changes while they’re still easy to report or repair. Check the same areas each time, and note anything that looks or feels different. Don’t adjust a part if you’re unsure of the correct method.
Inspect engine oil and look for leaks
Check the oil using the method in the owner’s manual. The bike’s position, engine temperature, and time after shutdown can affect the reading, so follow the stated procedure. Look for fresh oil around the engine and on the ground beneath the motorcycle. A recurring leak needs diagnosis; topping up alone won’t fix its cause.
Check tyres, wheels, brakes, and controls
Inspect tyre tread and sidewalls for cuts, cracks, bulges, or embedded objects. Check pressure when the tyres are cold and compare it with the manual or tyre guidance for your bike. Look for visible wheel damage, then check that brake levers and pedals feel normal and the throttle moves and returns freely. Damaged tyres or unreliable brakes need prompt attention.
Clean and assess the drive chain
Look for rust, stiff or damaged links, unusual noise, and slack outside the range set in the manual. Clean and lubricate the chain using the method and product recommended for your model. Too much tension can strain parts, so don’t tighten the chain by eye. Seek help if links bind or the chain and sprockets show heavy wear.
Trace Starting and Running Problems Step by Step
Start with simple checks and record what happens before removing parts. A symptom can have several causes, so one clue rarely proves that a component has failed. If you can’t find a clear cause, stop before the repair grows beyond your skill or tools.
If the engine will not start, check basics first
Confirm there’s fuel in the tank, the ignition switch is in the correct position, and you’re using the starting method listed in the manual. Check for obvious loose connections only when the bike is off and safe to inspect. If the engine turns but won’t start, avoid repeated long attempts; they can drain the battery. Arrange a diagnosis if basic checks don’t help.
If the starter is weak or lights are dim
With the motorcycle off, inspect battery terminals for looseness, corrosion, or damaged wires. Don’t bridge terminals with a tool, and don’t disconnect the battery unless the manual explains the safe procedure. If the connections look sound but the starter remains weak or lights stay dim, request a battery and charging-system test.
If the engine runs poorly or stalls
Note whether the problem happens at idle, during acceleration, or after the engine warms up. Record whether it began after refuelling or recent service, and whether it happens every time. These details help a mechanic narrow the diagnosis, but they don’t identify a failed part on their own. Avoid changing several settings at once.
Handle Brakes, Chain, and Electrical Faults Without Guesswork
These systems affect safe control, so limit home repairs to checks you can perform correctly. Use the manual for model-specific procedures and limits. If a fault affects braking or returns after a basic check, leave diagnosis and repair to a qualified mechanic.
Investigate brake drag, noise, or weak stopping
Look for visible damage, unusual wear, fluid leaks, or a change in lever or pedal feel. Don’t ride the motorcycle to test brakes that feel weak, noisy, or inconsistent. A qualified mechanic should inspect the system before the bike returns to service. Avoid taking apart brake parts unless you have the right tools and training.
Correct chain problems within manual limits
Check chain condition first, then measure slack as the manual describes. Clean and lubricate it with a suitable product, and follow the model-specific method for any adjustment. Chain alignment and adjustment can vary by bike. If the chain or sprockets look badly worn, have a mechanic assess whether parts need replacement.
Check lights, horn, switches, and visible wiring
Test the lights, horn, and switches while the motorcycle is stationary. Inspect accessible bulbs, connectors, and wires for looseness, corrosion, or visible damage. Don’t fit a higher-rated fuse to stop one from blowing. A fuse that fails again, or an electrical fault that returns, needs proper diagnosis.
Verify the Repair and Know When to Call a Mechanic
Before you finish, make sure the bike is safe to inspect and all work matches the manual. Check the original symptom again without riding if it involves a safety-critical system. If the fault remains or a new one appears, stop and arrange professional help.
Recheck fasteners, fluid levels, and tool clearance
Look for loose parts, fresh leaks, trapped wires, and tools left near moving or hot components. Confirm fasteners and fluid levels using the correct service instructions. Don’t estimate torque by feel where the manual gives a value. If a part doesn’t fit as expected, pause rather than forcing it.
Confirm the fix while the motorcycle is stationary
With the bike stable, check that lights and the horn work, the throttle returns, and the brakes respond normally. Confirm any part you touched moves as intended and doesn’t rub or bind. If the original problem remains, or a new sound or warning appears, don’t ride until it’s checked.
Get help for safety-critical or complex faults
Brake failure, a fuel leak, repeated electrical faults, major engine noise, or damage to structural parts calls for professional service. Don’t ride a motorcycle with any of these problems. Tell the mechanic when the fault occurs and what checks you’ve completed; clear notes can help speed up diagnosisRead also yamaha-xsr-155-engine-specs-performance
Keep the BS4 Hero CD Dawn Ready for the Next Ride
Confirm the exact variant before buying parts or adjusting components. Use the manual for specifications, and check the tyres, brakes, chain, oil, and electrical functions on a regular schedule. Record symptoms instead of guessing at their cause, and keep the bike off the road when a safety-critical fault appears.
Small, methodical checks can make faults easier to trace, but a quick fix isn’t worth risking a breakdown or injury. Check your CD Dawn before the next ride, and book a mechanic when the repair is beyond your tools or training.
1 thought on “BS4 Hero CD Dawn Bike Repair Guide: Find Faults Before They Cause Breakdowns”