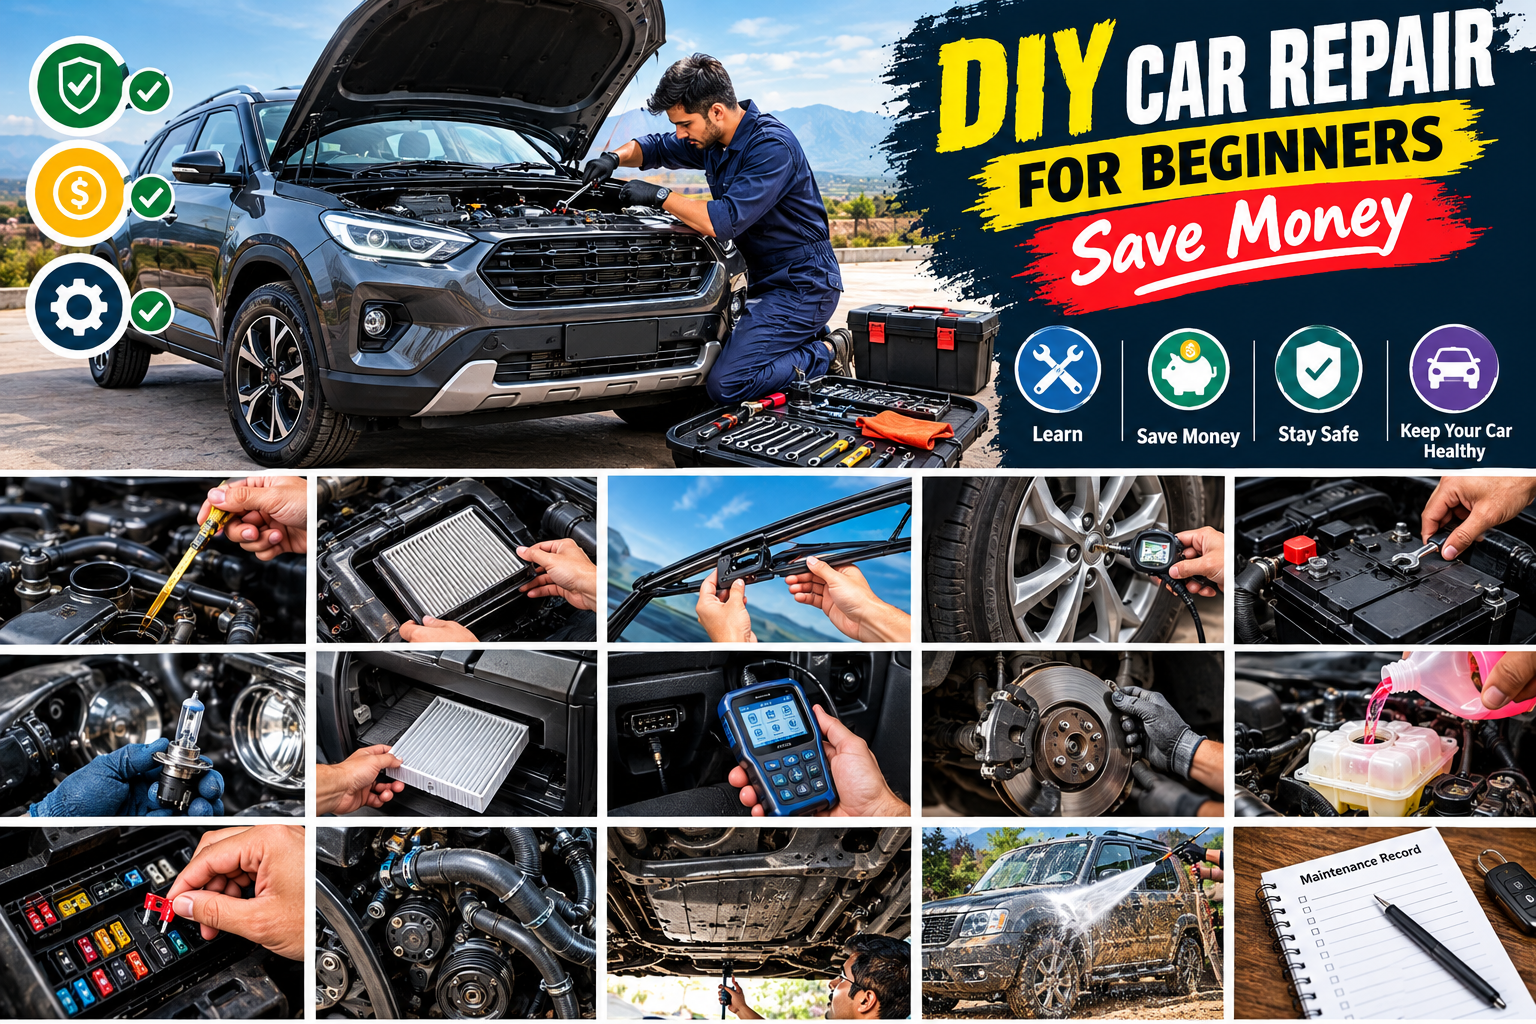
Basic car repairs do not always require an expensive workshop visit. Many simple maintenance and repair jobs can be performed at home if you have the right tools, follow the correct procedure, and understand your vehicle.
For beginners, the most important thing is not to start with complicated engine or transmission repairs. Start with simple jobs such as checking fluids, replacing wiper blades, changing air filters, inspecting the battery, checking tyre pressure, and replacing certain bulbs.
Learning these basic skills can help you understand your car better, identify problems earlier, and potentially save money on routine maintenance.
This guide explains several beginner-friendly DIY car repair and maintenance tasks step by step.
Why Learn Basic DIY Car Repair?
Modern cars contain many electronic and mechanical systems, but not every maintenance job requires professional equipment.
Learning basic car care can help you:
- Understand common vehicle problems
- Perform simple maintenance at home
- Reduce unnecessary workshop visits
- Recognize problems before they become expensive
- Keep important components in better condition
- Save time on simple repairs
- Become more confident when dealing with your vehicle
However, DIY repair should always be approached carefully. If a repair involves airbags, fuel systems, high-voltage hybrid or EV components, major suspension components, or internal engine work, professional service may be the safer choice.
Basic Tools Every Beginner Should Have
Before starting DIY car repairs, build a small collection of quality tools.
Useful beginner tools include:
- Socket and ratchet set
- Combination wrench set
- Screwdriver set
- Pliers
- Needle-nose pliers
- Torque wrench
- Jack
- Jack stands
- Wheel chocks
- Tyre pressure gauge
- Flashlight or inspection light
- Work gloves
- Safety glasses
- Funnel
- Oil drain pan
- OBD-II scanner for compatible vehicles
Do not rely on the vehicle jack alone when working underneath a car. A proper jack stand or suitable professional lifting equipment is essential for work that requires the vehicle to remain raised.
Step 1: Learn How to Safely Prepare the Car
Safety should always come before saving money.
Park the vehicle on a firm, level surface whenever possible. Engage the parking brake and switch off the engine.
If you are working near the wheels, use wheel chocks to help prevent unwanted movement.
Allow hot components such as the engine, exhaust and cooling system to cool before working around them.
Before starting any repair, read the vehicle owner’s manual. Different vehicles can use different fluids, fasteners, procedures and specifications.
Never work underneath a vehicle supported only by a hydraulic jack.
Step 2: Check the Engine Oil
Checking engine oil is one of the easiest maintenance tasks for beginners.
How to Check Engine Oil
- Park the vehicle on level ground.
- Turn off the engine.
- Allow the vehicle to sit for the period recommended by the manufacturer.
- Open the hood and locate the engine oil dipstick if your vehicle has one.
- Remove the dipstick.
- Wipe it clean with a lint-free cloth.
- Insert it completely again.
- Remove it and check the oil level.
- Make sure the level is within the manufacturer’s marked range.
If the oil level is low, add the correct oil specification recommended for your engine.
Do not simply choose oil based on viscosity alone. Modern engines may require specific oil standards or manufacturer approvals.
Also avoid overfilling the engine.
Why Oil Level Matters
Engine oil lubricates moving components and helps control heat and wear. Running with insufficient oil can cause serious engine damage.
If you repeatedly notice that the oil level drops quickly, investigate the reason instead of simply adding oil again and again.
Step 3: Replace the Engine Air Filter
A dirty air filter can restrict airflow to the engine.
Replacing an air filter is often one of the simplest beginner maintenance jobs.
Step-by-Step Procedure
- Switch off the engine.
- Open the hood.
- Locate the air filter housing.
- Release the clips or remove the fasteners.
- Open the housing carefully.
- Remove the old filter.
- Clean loose debris from the housing without allowing dirt to enter the intake.
- Compare the replacement filter with the old one.
- Install the new filter in the correct orientation.
- Close and secure the housing properly.
Do not operate the engine with the air intake system improperly assembled.
A filter that is not seated correctly can allow unfiltered air and dirt into the engine.
Step 4: Check and Replace Windshield Wipers
Wiper blades are simple components, but they are extremely important for visibility.
Inspect them if they leave:
- Streaks
- Unwiped areas
- Water smears
- Chattering sounds
- Cracked rubber
How to Replace Wiper Blades
- Lift the wiper arm carefully.
- Locate the locking mechanism.
- Release the old blade.
- Compare the replacement blade with the old one.
- Attach the new blade securely.
- Gently lower the arm onto the windshield.
Do not allow a bare metal wiper arm to fall against the glass because it can damage the windshield.
Step 5: Check Tyre Pressure
Incorrect tyre pressure can affect handling, braking, tyre wear and fuel economy.
Check tyre pressure when the tyres are cold and use the pressure specified by the vehicle manufacturer.
The correct pressure can usually be found on the vehicle’s tyre-information placard or in the owner’s manual.
Basic Tyre Inspection
While checking pressure, look for:
- Uneven tread wear
- Cuts
- Cracks
- Bulges
- Embedded objects
- Excessively worn tread
Do not depend only on visual inspection to determine tyre pressure.
If a tyre repeatedly loses pressure, find the cause. It could be a puncture, damaged valve, wheel problem or another issue.
Step 6: Inspect the Battery
A car battery is another component that beginners can inspect without complicated equipment.
Look for:
- Loose battery terminals
- Corrosion
- Damaged cables
- Swollen battery casing
- Leakage
- Poor connections
Before disconnecting a battery, check the owner’s manual because some vehicles have special battery-management procedures.
Never allow tools to create a short circuit between battery terminals.
If the battery repeatedly goes flat, replacing it immediately may not solve the real problem. A charging-system or electrical fault could be responsible.
Step 7: Replace a Simple Vehicle Bulb
Some vehicles allow owners to replace certain exterior or interior bulbs easily, although modern cars may use sealed LED assemblies.
General Procedure
- Turn off the vehicle and lights.
- Identify the bulb or access cover.
- Remove the cover if necessary.
- Disconnect the electrical connector.
- Remove the old bulb.
- Install the correct replacement.
- Reconnect the wiring.
- Test the light before closing everything.
Never force a bulb into the wrong socket.
For LED assemblies or complicated lighting systems, follow the manufacturer’s procedure rather than trying to disassemble sealed components.
Step 8: Replace the Cabin Air Filter
The cabin air filter helps clean the air entering the passenger compartment.
Depending on the vehicle, it may be located behind the glove box or in another HVAC-access area.
Basic Replacement Procedure
- Open the access panel or glove box.
- Locate the filter housing.
- Remove the cover.
- Pull out the old filter.
- Check the airflow-direction marking.
- Install the new filter in the correct direction.
- Reinstall the cover and access panel.
A heavily dirty cabin filter can reduce airflow from the vents.
Step 9: Learn Basic OBD-II Diagnostics
An OBD-II scanner can help beginners understand why the check-engine light is illuminated on compatible vehicles.
The scanner connects to the vehicle’s diagnostic port and may display diagnostic trouble codes.
However, a trouble code is not automatically a confirmation that a particular component needs replacement.
For example, a sensor-related code may sometimes be caused by wiring, connectors, air leaks or another underlying problem.
Basic Diagnostic Process
- Park the vehicle safely.
- Locate the diagnostic connector.
- Connect the compatible scanner.
- Follow the scanner instructions.
- Record any stored codes.
- Research the code using reliable repair information.
- Inspect the relevant system.
- Repair the actual cause.
- Clear codes only when appropriate.
- Test the vehicle and confirm whether the problem returns.
Avoid replacing expensive parts simply because a code mentions that component.
Step 10: Learn How to Inspect Brake Components
Brake maintenance is extremely important, but beginners should understand their limits.
You may be able to visually inspect brake components through the wheel or during a wheel removal procedure if you have the correct equipment and experience.
Look for obvious signs such as:
- Extremely thin brake pads
- Damaged brake components
- Fluid leakage
- Uneven wear
- Unusual rotor condition
If the brake pedal feels soft, braking performance changes significantly, brake fluid is leaking, or you are unsure about the condition of the braking system, professional inspection is appropriate.
Brakes are not an area where beginners should take unnecessary risks.
Step 11: Check Engine Coolant
Never open a hot cooling-system cap.
A cooling system can remain pressurized after the engine is switched off, and hot coolant can cause severe burns.
After the engine has completely cooled, inspect the coolant reservoir and compare the level with the markings.
Use only the coolant type and specification recommended for the vehicle.
If coolant repeatedly disappears, do not treat it as normal. Look for leaks or have the cooling system professionally inspected.
Step 12: Replace a Fuse
A blown fuse can sometimes cause an electrical accessory to stop working.
The owner’s manual normally identifies fuse locations and circuits.
Basic Fuse Replacement
- Switch off the vehicle.
- Locate the appropriate fuse box.
- Identify the affected circuit.
- Remove the suspected fuse.
- Inspect it carefully.
- Replace it only with the correct type and rating.
- Test the affected system.
Never install a higher-rated fuse to prevent it from blowing again.
A fuse protects an electrical circuit. If the replacement fuse blows again, there may be an electrical fault that requires diagnosis.
Step 13: Inspect Belts and Hoses
With the engine switched off and cool, visually inspect accessible belts and hoses.
Look for:
- Cracks
- Fraying
- Severe wear
- Bulges
- Leaks
- Loose connections
Do not place your hands near moving belts while the engine is running.
If a belt shows significant damage, have it replaced before failure causes additional problems.
Step 14: Learn How to Find Fluid Leaks
Fluid leaks can provide useful clues about vehicle problems.
When the vehicle is parked safely, look for fresh fluid underneath it.
Different fluids can have different colors, smells and locations, but color alone should not be used to identify a fluid with certainty.
If you find a leak, first determine which system is affected.
Possible sources include:
- Engine oil
- Coolant
- Transmission fluid
- Brake fluid
- Power steering fluid on vehicles equipped with hydraulic systems
- Washer fluid
Brake-fluid leaks require immediate attention because they can affect braking performance.
Step 15: Keep a DIY Maintenance Record
One of the easiest ways to become better at car maintenance is to keep a record.
Record:
- Date of repair
- Vehicle mileage
- Work performed
- Parts replaced
- Fluid used
- Symptoms noticed
- Diagnostic codes
- Next inspection date
A maintenance record helps you understand recurring problems and prevents important maintenance from being forgotten.
Repairs Beginners Should Avoid Without Proper Training
DIY does not mean every repair should be performed at home.
Beginners should be especially cautious with:
- Airbag systems
- Fuel-system repairs
- High-voltage hybrid systems
- EV battery systems
- Major suspension work
- Steering-system repairs
- Internal engine repairs
- Transmission rebuilding
- Advanced electrical diagnostics
- Major brake-system repairs
- Repairs requiring vehicle lifting beyond available equipment
These systems can involve serious safety risks or require specialized tools and procedures.
How DIY Repair Can Save Money
DIY maintenance can reduce labor costs for simple jobs, but saving money should not be the only objective.
The real benefit comes from understanding what your vehicle needs.
For example, checking tyre pressure regularly may help prevent premature tyre wear. Replacing a dirty filter at the appropriate time can maintain proper airflow. Inspecting fluid levels can help you identify leaks before they become larger problems.
However, using cheap or incorrect parts can create additional costs later.
Always choose parts and fluids that meet the vehicle manufacturer’s requirements.
Common DIY Car Repair Mistakes
Beginners often make a few avoidable mistakes.
Using the Wrong Part
A part that looks similar may not be compatible with your vehicle.
Skipping the Owner’s Manual
The manual can contain important specifications, capacities and procedures.
Overtightening Fasteners
More force does not always mean better repair. Some components require a specific torque.
Ignoring Warning Signs
A warning light or unusual noise should not simply be ignored.
Working Without Proper Support
Never work underneath a vehicle that is supported only by a jack.
Guessing at Problems
Replacing parts randomly can become more expensive than proper diagnosis.
A Simple Beginner DIY Maintenance Routine
You do not need to repair everything at once.
A simple routine can include:
Weekly or Before Long Trips
- Check tyres visually
- Check for obvious fluid leaks
- Confirm lights are working
- Look for warning lights
Monthly
- Check tyre pressure
- Inspect wipers
- Inspect accessible hoses and belts
- Check engine oil according to the vehicle’s procedure
During Scheduled Maintenance
- Replace filters when required
- Inspect brakes
- Check battery condition
- Inspect suspension and steering components
- Follow the manufacturer’s maintenance schedule
The exact maintenance Read also 2026-harley-davidson-cvo-road-glide-st-reviewintervals vary by vehicle, engine, driving conditions and manufacturer recommendations.
Final Thoughts
Learning basic DIY car repair is a practical skill that can make vehicle ownership easier and more affordable.
Start with simple jobs such as checking fluids, tyre pressure, filters, wipers, battery condition and basic diagnostics. As your experience grows, you can gradually learn more advanced maintenance procedures.
The most important rule is to know your limits. Saving money is useful, but safety should always come first.
Use the owner’s manual for vehicle-specific specifications, use the correct parts and tools, and never take shortcuts with critical systems such as brakes, steering, airbags, fuel systems or high-voltage components.
With patience, proper tools and careful procedures, beginners can learn many useful vehicle-maintenance skills and become more confident in taking care of their cars.
1 thought on “Step-by-Step DIY Car Repair Guide for Beginners (Save Money)”