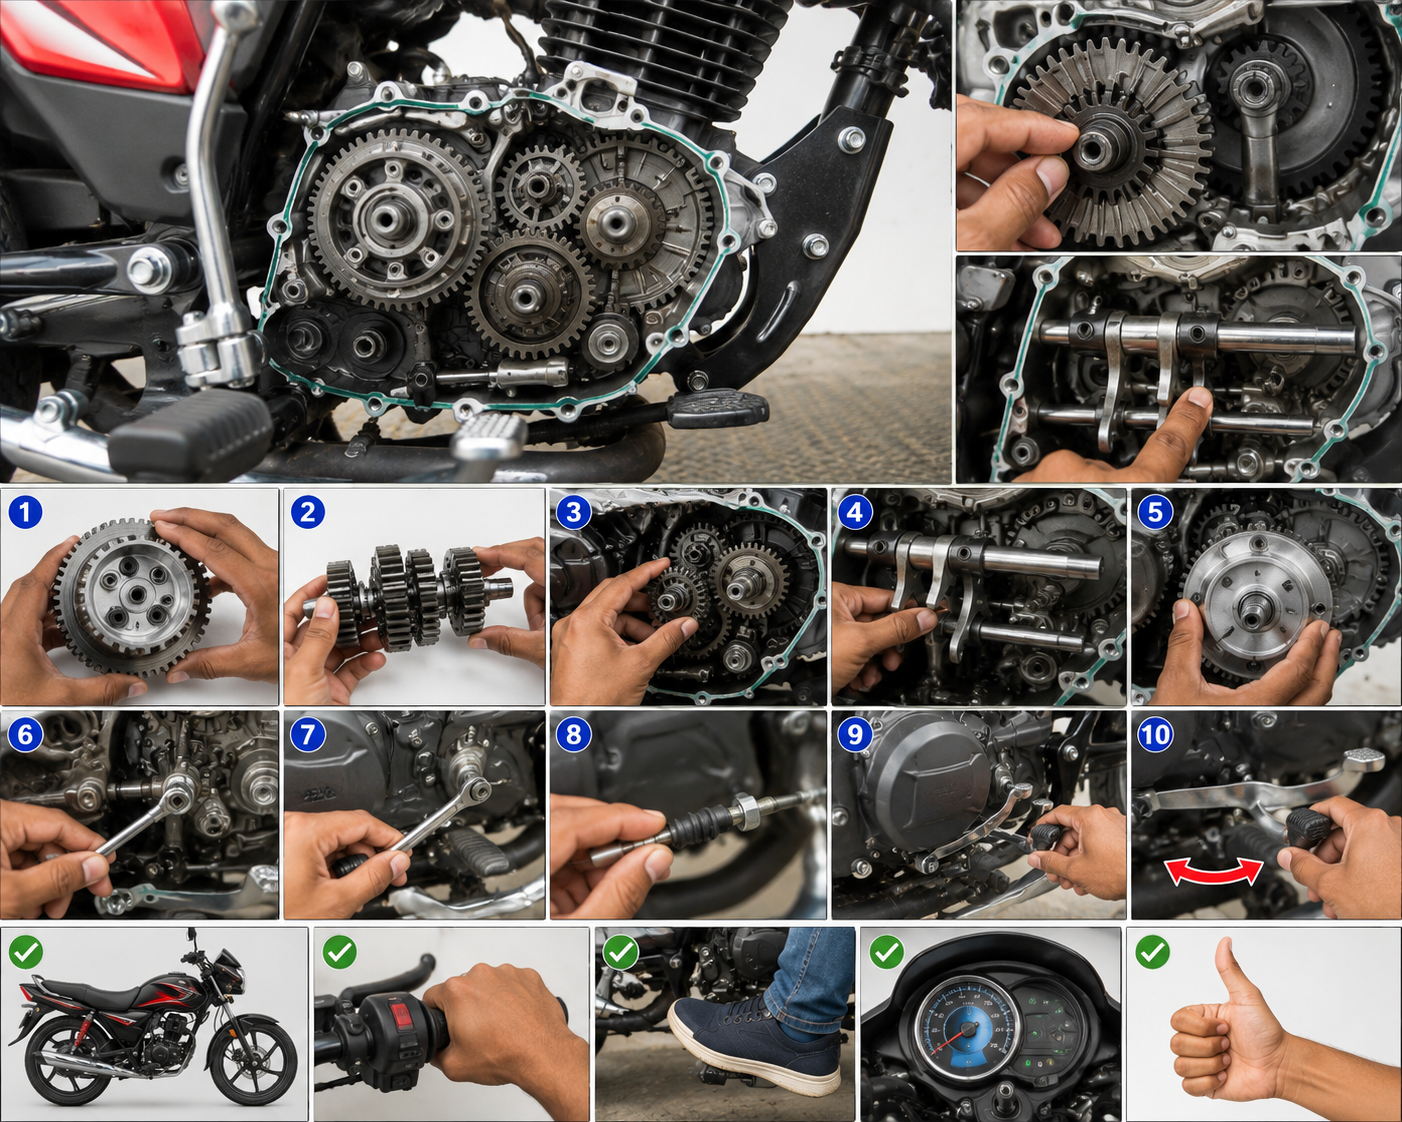
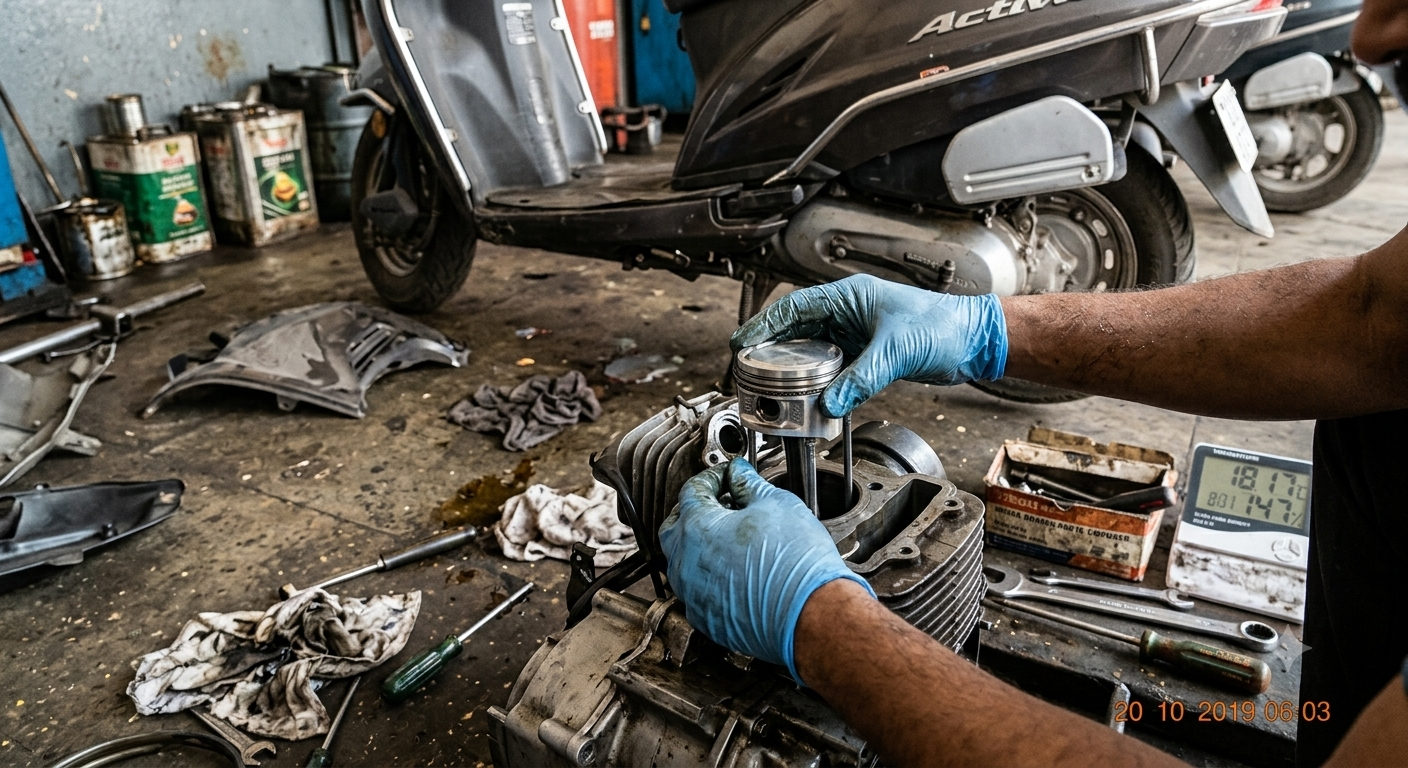
The piston and piston rings are some of the most important components inside the engine. The piston moves up and down inside the cylinder and transfers combustion force to the crankshaft through the connecting rod. The piston rings help maintain compression, control engine oil, and transfer heat from the piston to the cylinder wall.
A worn, damaged, incorrectly installed, or improperly positioned piston ring can cause several engine problems, including low compression, excessive smoke, poor acceleration, difficult starting, increased oil consumption, and reduced fuel economy.
Before starting, it is important to understand one technical point: the piston and piston rings are installed inside the cylinder, not the cylinder head. The cylinder head is installed above the cylinder and contains the combustion chamber and valve components.
The exact piston dimensions, ring specifications, clearances, tightening torques, and installation procedure can vary between different Honda Activa generations and engine versions. Always use the correct service information for the exact Activa model being repaired.
1. Understand the Piston and Ring Assembly
Before installation, understand the basic components.
A typical piston assembly includes:
- Piston
- Top compression ring
- Second ring
- Oil-control ring or ring assembly
- Piston pin
- Piston-pin clips
The piston rings have different functions.
The compression rings help seal combustion pressure between the piston and cylinder wall.
The oil-control ring helps regulate the amount of engine oil remaining on the cylinder wall.
Because the rings can look similar, never assume that all rings are interchangeable.
Always identify each ring according to the manufacturer’s markings and installation instructions.
2. Confirm the Correct Replacement Parts
Before installing anything, compare the replacement piston and rings with the original components.
Check:
- Piston size
- Ring dimensions
- Piston-pin size
- Ring markings
- Piston orientation
- Part compatibility
Do not install a piston simply because it appears to fit the cylinder.
The correct piston must match the exact engine specification.
If the cylinder has been bored or replaced with a different specification, the piston and rings must correspond to that cylinder.
3. Inspect the Cylinder Before Installation
The piston should never be installed into a cylinder that has not been properly inspected.
Check the cylinder bore for:
- Deep scratches
- Scoring
- Excessive wear
- Abnormal discoloration
- Damage around the top edge
- Excessive deposits
The cylinder should also be measured using suitable precision measuring equipment.
Visual inspection alone cannot determine whether a cylinder is within its service limits.
If the cylinder is excessively worn, installing new rings alone may not solve the problem.
4. Clean the Components and Work Area
Cleanliness is extremely important during engine assembly.
Clean the cylinder, piston, piston-ring grooves, piston pin, and surrounding components according to the manufacturer’s recommended procedure.
Make sure there is no dirt, metal debris, carbon, or old gasket material that could enter the engine.
Keep the workbench clean.
Even a small amount of abrasive contamination can damage the piston, rings, cylinder wall, or bearings after the engine starts.
5. Inspect the Piston Ring Grooves
Before installing new rings, inspect the piston-ring grooves.
The rings must be able to move correctly within their grooves.
Carbon deposits inside the grooves can prevent proper ring movement.
Clean the grooves carefully using an appropriate method.
Do not aggressively scrape or damage the piston.
Also inspect the ring lands between the grooves for cracks or abnormal wear.
If the piston itself is damaged or outside the manufacturer’s specifications, replace it rather than installing new rings onto a defective piston.
6. Identify the Correct Ring Position
This is one of the most important steps.
Piston rings are not necessarily identical.
The top ring and second ring can have different profiles and markings.
Some rings have markings such as letters, numbers, or other identification marks that indicate their installation direction.
Follow the manufacturer’s instructions carefully.
Do not install a ring upside down simply because it fits the groove.
Incorrect ring orientation can result in poor sealing and increased oil consumption.
7. Install the Piston Rings Carefully
Piston rings are relatively thin and can be damaged if they are spread excessively.
Install each ring carefully into its correct piston groove.
Avoid forcing or twisting the rings.
Use an appropriate piston-ring installation tool if necessary.
Do not use excessive force with a screwdriver or other sharp object because it can scratch the piston or permanently deform the ring.
After installation, confirm that each ring can move appropriately in its groove.
8. Check the Ring End Gap
Ring end gap is an important measurement.
A ring that is installed without checking its end gap may cause problems.
To check the end gap, the ring is positioned inside the cylinder and squared appropriately according to the manufacturer’s measurement procedure. The gap is then measured using a suitable feeler gauge.
Compare the measurement with the manufacturer’s specification for the exact engine.
If the end gap is too small, the ring may bind when the engine reaches operating temperature.
If the end gap is excessively large, combustion gases can pass the ring more easily and compression and oil control may suffer.
Do not guess the correct ring gap.
9. Check Piston-to-Cylinder Clearance
The piston and cylinder must have the correct clearance.
Excessive clearance can contribute to piston noise, poor oil control, and reduced engine performance.
Insufficient clearance can cause the piston to expand and bind when the engine becomes hot.
The correct clearance must be determined using the manufacturer’s specifications and suitable measuring equipment.
This is why professional engine rebuilding involves measurements rather than simply replacing parts.
10. Install the Piston in the Correct Direction
Piston orientation is extremely important.
Many pistons have a marking, arrow, notch, or other identification feature showing the correct installation direction.
Follow the specific orientation requirement for the Honda Activa engine being repaired.
Do not assume that the piston can be installed in either direction.
Incorrect piston orientation can affect the relationship between the piston, cylinder, valve area, and combustion chamber.
11. Install the Piston Pin
After preparing the piston and connecting rod, the piston pin can be installed according to the correct procedure.
Make sure the connecting-rod small end and piston-pin surfaces are properly prepared and lubricated where specified.
Insert the piston pin carefully.
Install the correct piston-pin retaining clips.
The clips must be seated correctly in their grooves.
This is a critical safety point because a loose or incorrectly installed piston-pin clip can cause severe internal engine damage.
Never reuse a damaged retaining clip.
12. Lubricate the Piston and Cylinder
Before installing the cylinder, apply the correct clean engine oil or assembly lubricant to the piston, rings, and cylinder surfaces as specified by the service procedure.
Do not use excessive oil.
The purpose is to provide initial lubrication during startup while allowing the rings to seat properly.
Make sure the cylinder and piston surfaces are clean before applying lubricant.
13. Install the Cylinder Carefully
Compressing the piston rings while sliding the cylinder over the piston requires care.
The rings must enter the cylinder smoothly.
Do not force the cylinder downward if it stops.
If the cylinder does not slide into position, stop and inspect the ring position.
Forcing the cylinder can break a ring or damage the piston.
Make sure the piston is correctly positioned and that all ring ends and locating features are installed according to the manufacturer’s procedure.
14. Check Ring Installation Before Final Assembly
Before completing the top-end assembly, inspect the piston and cylinder one more time.
Confirm:
- Correct piston orientation
- Correct ring positions
- Correct ring markings
- Proper ring seating
- Correct ring end-gap arrangement
- Proper piston-pin clip installation
- Correct gasket placement
- Clean cylinder surface
This final inspection can prevent a major engine failure after startup.
15. Install the Cylinder Head
Once the cylinder is correctly installed, the cylinder head can be installed according to the correct service procedure.
Use the appropriate new gasket or sealing components specified for the engine.
Clean the mating surfaces carefully.
Install the cylinder-head fasteners in the correct sequence.
Use a calibrated torque wrench and the manufacturer’s specified torque values.
Never guess the cylinder-head torque.
Incorrect tightening can cause leakage, distortion, or serious engine problems.
16. Check Valve and Timing Components
The cylinder head contains the valve and combustion-related components.
Depending on the specific Activa engine design, the timing system must be installed and checked according to the manufacturer’s procedure.
Make sure the timing marks are correctly aligned before completing assembly.
Incorrect timing can cause starting problems, poor engine performance, or internal damage depending on the engine design.
Never rely only on visual estimation.
17. Rotate the Engine Manually
Before starting the engine, rotate the engine manually according to the appropriate service procedure.
This helps confirm that the piston moves correctly and that there is no abnormal mechanical resistance.
If the engine suddenly becomes difficult to rotate, stop immediately.
Do not use the starter motor to force an incorrectly assembled engine to rotate.
Investigate the cause before continuing.
18. Check Engine Oil Level
Before starting the repaired engine, make sure the engine has the correct oil level according to the manufacturer’s checking procedure.
Do not start a freshly assembled engine without proper lubrication.
Confirm that all required covers, plugs, seals, and components have been installed.
Also inspect for possible oil leaks.
19. Start the Engine Carefully
When the engine is ready, start it according to the normal procedure.
Do not immediately rev the engine aggressively.
Allow it to operate normally while observing:
- Engine noise
- Idle quality
- Oil leakage
- Exhaust smoke
- Warning indicators
- Abnormal vibration
- Unusual mechanical sounds
A small amount of smoke can sometimes occur after assembly because of assembly lubricant or oil, but persistent excessive smoke requires investigation.
20. Check for Oil Consumption and Compression
After the engine has been operated according to the appropriate procedure, monitor its performance.
If the engine continues to show:
- Low compression
- Excessive smoke
- Poor acceleration
- High oil consumption
- Difficult starting
- Abnormal noise
the piston, rings, cylinder, valves, and related components should be inspected again.
New piston rings do not automatically fix an engine if the cylinder is worn or another component is defective.
Common Mistakes During Piston Ring Installation
Avoid these common mistakes:
1. Installing rings in the wrong grooves
Each ring must be installed in its designated groove.
2. Installing rings upside down
Always follow the markings and manufacturer instructions.
3. Excessively spreading the rings
Over-expanding a ring can permanently damage it.
4. Ignoring ring end gap
Always measure the gap according to the correct specification.
5. Installing a new ring into a worn cylinder
A severely worn cylinder may require additional repair.
6. Installing the piston backwards
Always check the piston orientation marking.
7. Reusing damaged piston-pin clips
Use suitable retaining clips as specified.
8. Starting the engine without proper lubrication
Correct lubrication is essential during initial operation.
9. Guessing tightening torque
Use the correct specifications and a suitable torque wrench.
10. Rushing the assembly
Engine assembly requires patience and cleanliness.
Piston Ring Installation Checklist
Before closing the engine, confirm:
- Correct piston installed
- Correct piston orientation
- Correct rings installed
- Ring markings facing the correct direction
- Ring end gaps checked
- Ring grooves clean
- Cylinder inspected
- Piston-pin clips properly seated
- Correct gaskets installed
- Timing correctly set
- Fasteners tightened according to specification
- Engine oil correctly filled
- Engine manually checked before startingRead also how-to-service-mahindra-thar-at-home
Conclusion
Installing a piston and piston rings in a Honda Activa engine is a precision job. The process may appear simple, but small mistakes can result in compression loss, oil consumption, smoke, poor performance, or serious engine damage.
The most important principles are cleanliness, correct measurements, correct ring orientation, correct piston direction, proper lubrication, and accurate assembly.
Never install piston rings by simply guessing their position. Check the manufacturer’s specifications for ring end gap, piston-to-cylinder clearance, piston orientation, torque values, and other critical measurements.
Also remember that different Honda Activa generations and engine variants may use different components and procedures. Always identify the exact model and engine before ordering parts or beginning an internal engine repair.
If you are not equipped with the correct measuring tools or are not experienced with engine rebuilding, major piston and cylinder work should be performed by a qualified mechanic.
A properly inspected and correctly assembled piston and ring system can help restore compression, oil control, smooth engine operation, and reliable performance.
I hope this Honda Activa Piston and Ring Installation Guide helps beginners and mechanics understand the correct approach to top-end engine repair.
For more practical motorcycle and scooter repair guides, engine troubleshooting tips, maintenance procedures, and workshop knowledge, keep visiting Rajesh Technical Giyan.
1 thought on “Honda Activa Piston and Ring Installation: Complete Step-by-Step Guide”